Getting Started with DataHub v2
Now that you've installed Logi DataHub, what should you do next? Typical first steps and links to more detailed documentation are presented here.
- DataHub Interface Tour
- Managing Your Profile
- Working with Data
- Admins: Managing Users
- Admins: Email Notifications
- Admins: Other Tasks
DataHub Interface Tour
When you log into DataHub, you'll see the main menu, above the Dataviews page:

The main menu options include:
- Dataviews - This option lets you manage "dataviews", by creating them or selecting one from lists of Recent or All dataviews. A dataview is just what its name implies: a view of data, which can be from multiple sources, governed by relationships, and/or enriched.
- Sources - This option lets you manage your data sources, by creating connections to applications and/or databases.
- Repository - This option lets you manage the data objects stored in the DataHub Repository. The number in the icon indicates the percentage of storage that's in use.
- Help - This option displays the "About" dialog box for DataHub, which displays the version number.
- Bell - This icon includes an indicator when you have an event notification and you can hover your mouse cursor over it to see the message. Events that trigger a notification include successful dataview creation, dataview creation failure, scheduled dataview load status, storage limit approach, etc.
- Your-User-Name - This option allows you to manage your user profile and to logout of DataHub. It also allows Administrator users to manage other users.
The "hamburger" icon at the left edge of the menu returns you to the initial (Dataviews) page.
Managing Your Profile
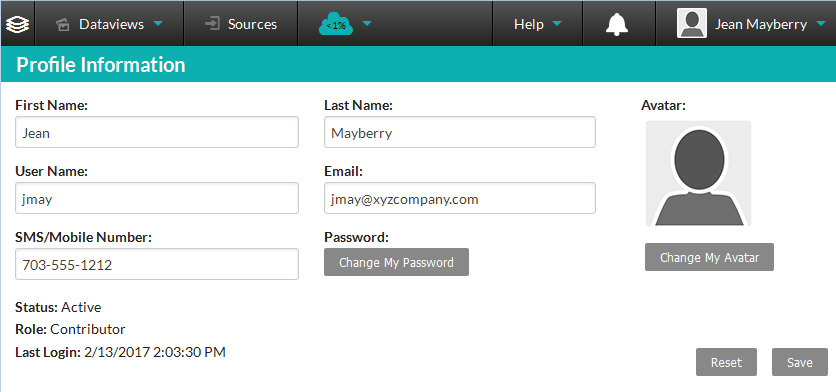
If you click the main menu option with your user name, you'll see an option for managing your profile:

In the related page, you can manage the data associated with your user account and change your password.

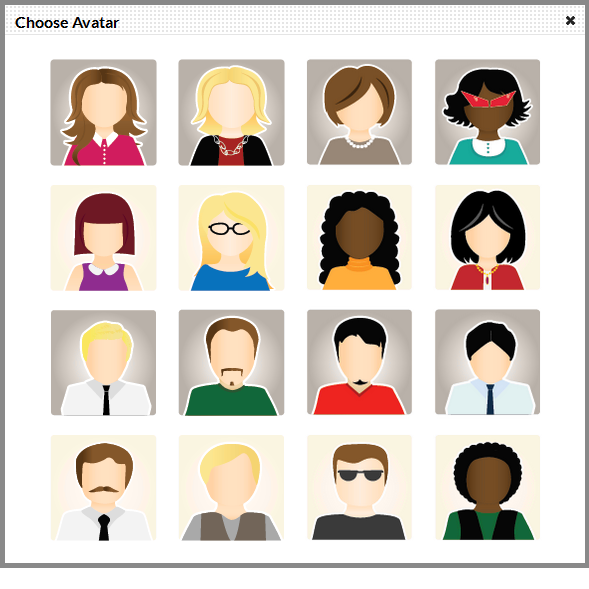
You can also choose a specific avatar, from the examples shown above.
Working with Data
A mentioned earlier, DataHub connects with sources to retrieve data; that data can be manipulated and combined with other data to create a dataview. DevNet's library of DataHub documentation includes the following topics that will guide you in accessing data:
- Connecting to Databases
- Connecting to Applications
- Using Excel and CSV Data
- Creating Dataviews
- Creating Data Relationships
- Blending Multi-Source Data
These topics will guide you in manipulating data for use in DataHub:
For a complete list of documentation, see the DataHub page on DevNet.
Admins: Managing Users
Administrator users can add and manage other DataHub users.

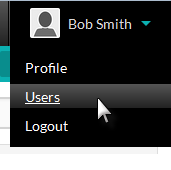
Their Your-User-Name menu option includes a Users item, as shown above, which displays the Users list:

Uses can be managed from the list, or their User Name can be clicked to view and edit their user account details and change their passwords. The list can be filtered by user role and status.
New user accounts can be created by clicking Create New User and supplying appropriate details. When a new user account is created, they're assigned a default avatar and they're automatically sent an email with their temporary password.
Users or groups of users can be activate or inactivated by checking their checkbox in the list, selecting the appropriate action, and clicking Apply.
Admins: Email Notifications
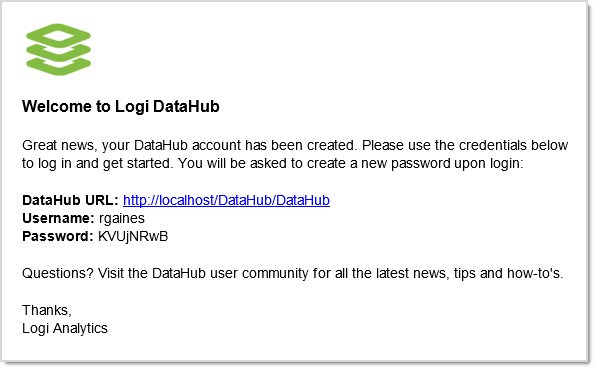
DataHub automatically sends out notification emails to users when certain events occur. The triggering events include new user registration, reminders, warnings, etc.
Here's an example of a stock message:

Each email is based on a template that includes placeholders for dynamic values. If you don't like the standard template design, you can customize these HTML files with any text editor. Assuming a default installation location, the template files are located in:
C:\Program Files\Logi Analytics\DataHub\App_Data\EmailTemplates
By default, the emails are sent using a third-party, public SMTP server, but if you wish to configure DataHub to use your own server, you can configure this file (assuming a default installation location):
C:\Program Files\Logi Analytics\DataHub\web.config
Find, uncomment, and customize this code in the file:
<!-- If you wish you use an SMTP server other than the default to manage the application's transactional emails, uncomment the following and configure it accordingly: --> <!-- <system.net>
<mailSettings>
<smtp from="email@emailServer.com">
<network host="smtp host setting" port="port setting" userName="username" password="password"/>
</smtp>
</mailSettings>
</system.net> -->
Admins: Other Tasks
Other tasks for Administrators are described in these topics: