Install Upgrade Remove Logi DataHub v2
This topic guides you through the Logi DataHub installation process, for both testing and production environments.
- Installation Scenarios
- Preparing to Install
- Installation Process
- Login to Complete the Installation
- Uninstalling DataHub
Be sure to review System Requirements before continuing with the installation.
Installation Scenarios
Logi DataHub allows for several installation scenarios:
Standalone - Installs a single-user, standalone instance of DataHub. In addition to DataHub, the installer will also install an IIS Express service to deliver the web content.
Workgroup - Installs an instance intended to be accessed by multiple users. The installer will configure a web site under IIS to deliver the web content.
Two-Tier - You can also choose to install a two-tier application, wherein the DataHub Data Repository is installed on a separate database server machine. In this scenario, the repository must be installed on the database server before the DataHub Web Application is installed on the web server. Logi DataHub also relies on other web components.
What Gets Installed
If the following components don't exist in the target environment, the installation application will install them for you:
- The Logi DataHub web application
- Microsoft .Net Framework 4.5
- IIS Express 8.0 (if Standalone mode is selected)
- The InfoBrite-Postgres database server
- Visual C++ Redistributable libraries
Upgrading
The process of upgrading to another version of DataHub is simple. Run the installation program just as you did for your original installation and it will detect the existing installation and proceed accordingly. During the process, you'll only see a subset of the dialog boxes shown in the section below for a first-time installation.
If you want to relocate the installation to another folder, or change the installation scenario, then follow the instructions in the final section of this topic to completely remove the previous DataHub installation first, then run the installer for the new version.
Preparing to Install
Windows includes a number of security enhancements that impact software installation and it is critical that installation and configuration occur while using the software with the built-in "Administrator" account.
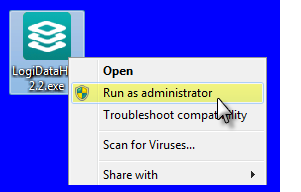
Even if your personal account has been added to the local Administrators Group, it may not have sufficient privileges, so don't rely on it.
As shown at left, the correct practice when running the Logi installation program or using the Command Line to make configuration adjustments is to start the tool by right-clicking its icon and selecting "Run as administrator" from the menu to start the program. The ensures that appropriate permissions are provided for the installed components.
Don't see a "Run as administrator" option? If the system is in a network domain, your network admin may have created security policies that don't allow you to see this option, in which case you need to consult your IT staff for assistance.
Installation Process
This section describes the installation steps and the dialog boxes you'll see when installing DataHub. When you launch the installer, it will examine your system for the necessary components and, if necessary, install them.
Depending on previously installed components, selected options, and operating system versions, some of the following dialog boxes may not be shown, or may appear slightly different than the examples shown.
![]() If you intend to use Two-Tier configuration, with the database server and web server on separate computers, you'll need to install the DataHub Data Repository on the database server first. This will establish the database and the scheduler service. Once that's done, you'll install the DataHub Web Application on the web server.
If you intend to use Two-Tier configuration, with the database server and web server on separate computers, you'll need to install the DataHub Data Repository on the database server first. This will establish the database and the scheduler service. Once that's done, you'll install the DataHub Web Application on the web server.
As usual, you can click Back at any time before the physical installation begins to go back to the previous screen.
- To start the installation, right-click the Logi product installation program icon and select "Run as administrator" to launch the installer. Allow it to complete the installation preparation.
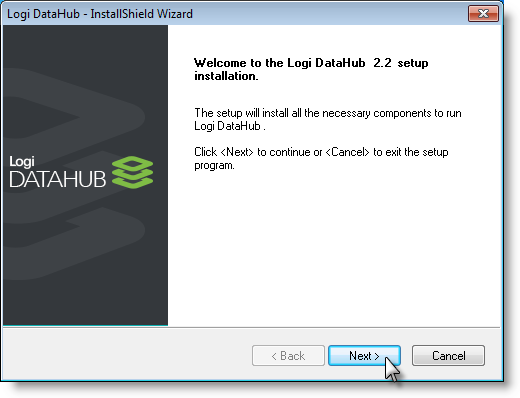
- When the Welcome Screen appears, click Next.
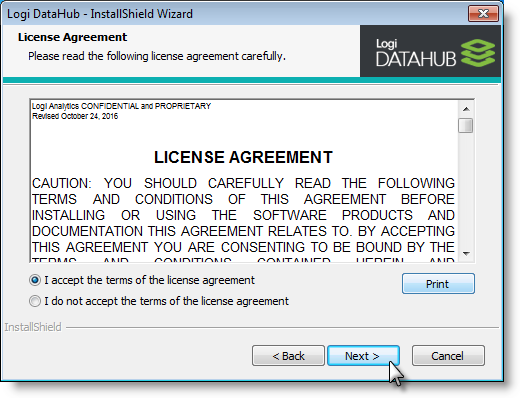
- License Agreement: Select the "I accept the terms..." radio button after reading the license agreement and click Next to continue.
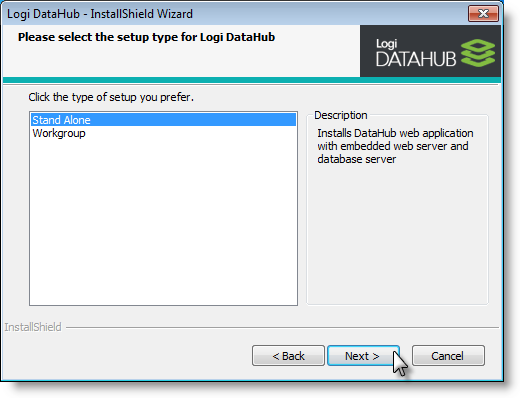
- Setup Type - If this installation is for testing or evaluation on a server where IIS is not already installed, select the Stand Alone option. The installer will install an IIS Express service, in addition to DataHub, for local use to administer the application.
If this installation is for a production environment where IIS is already present, select the Workgroup option. The installer will configure a web site under the existing IIS server to deliver its web content.
To install DataHub's Data Repository on a separate server, in order to support a Two-Tier configuration, select the Workgroup option.
Click Next to continue.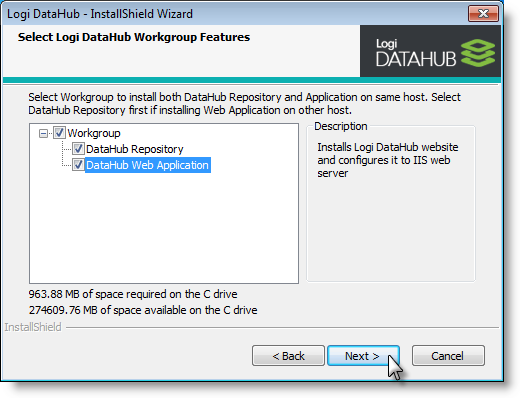
If you selected the WorkGroup option, you'll see the dialog box shown above. In it, you can select which of the two DataHub components to install. Make your selections and click Next to continue.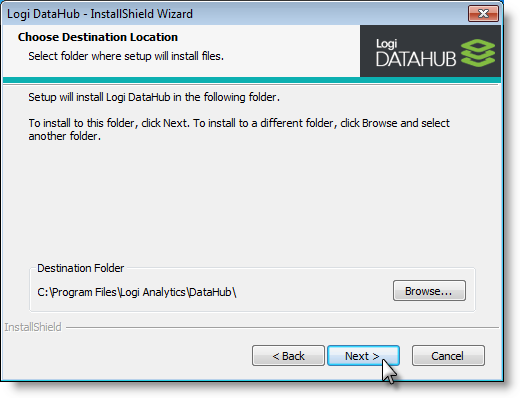
- Destination Folder: Click Next to accept the default installation location and continue. Optional - click Change to specify an alternative installation location if you don't like the default location.
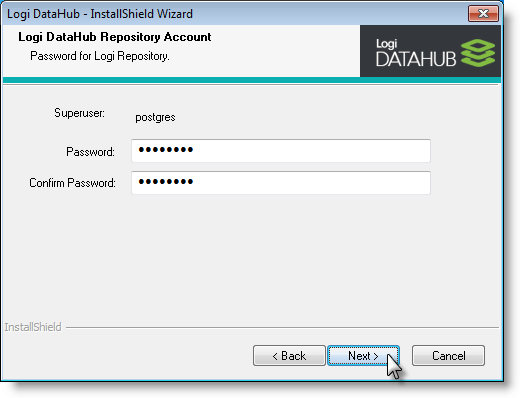
- Repository Account Password - Provide a password (minimum of 6-characters) to be used to administer the DataHub Repository. Click Next to continue.
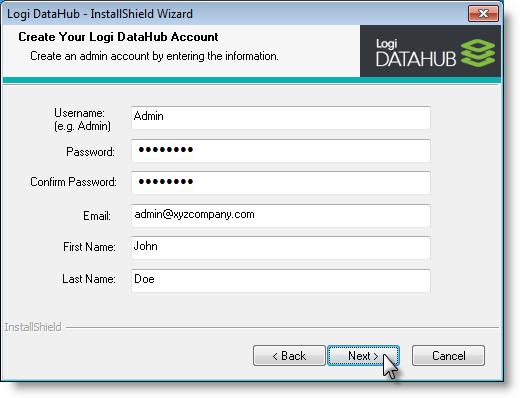
- DataHub Admin Account - Enter a user name, password, email address, and first and last name for an administrative user account. This account will be used to manage standard DataHub user accounts and will receive all admin-related email notifications. Click Next to continue.
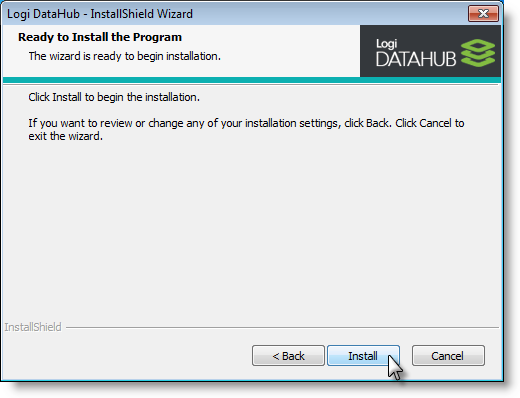
- Ready to Install: The installer has all the necessary information. Click Install to begin the physical installation.
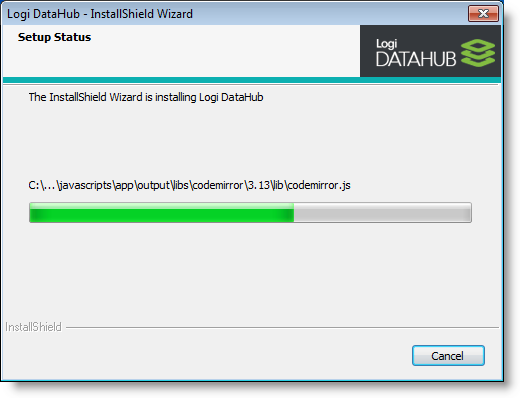
A status dialog box, like the one shown above, will be displayed to keep you informed of progress.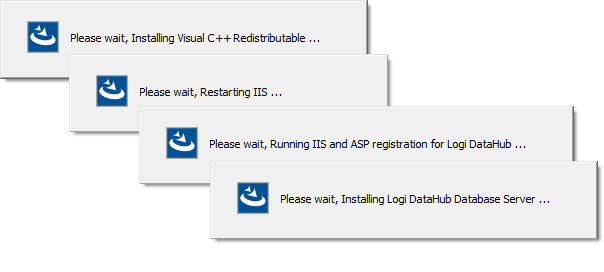
During the process you may see other informative messages similar to those shown above.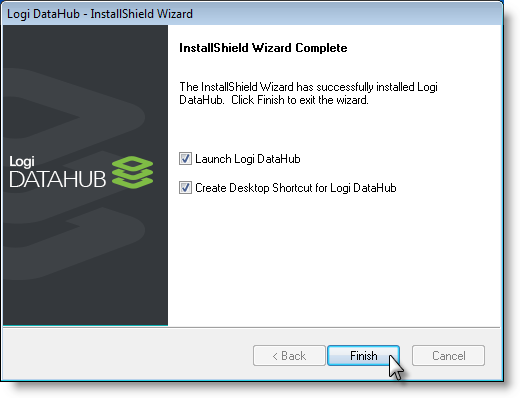
Once the installation is complete, the final dialog box, shown above, is displayed with an offer to launch DataHub immediately in your browser. If you'd like complete the installation without launching Logi DataHub, uncheck the Launch Logi DataHub checkbox. Click Finish to close the installer.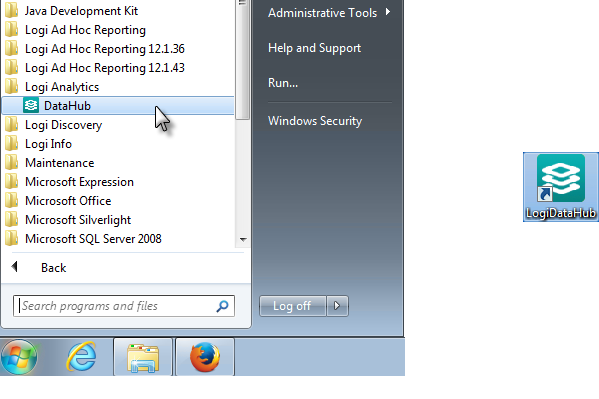
The installation process will create a program group and shortcut in the Start Menu for DataHub, under Logi Analytics, and an optional shortcut on the Desktop, as shown above.
If you need to manually create a shortcut, here's that path (assuming a default installation location):
C:\Program Files\Logi Analytics\DataHub\datahub.url
Login to Complete the Installation
To complete the installation, use the Admin credentials from Installation Step #7 to login:
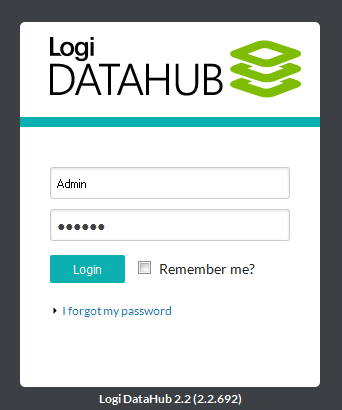
Once you do, you can check your profile and customize your avatar, provide a mobile number for SMS notifications, and engage in other administrative tasks, like creating users.
Uninstalling DataHub
To uninstall DataHub and all of its components, do the following:
- Run the original installation program again (as an Administrator) and confirm the uninstallation.
- Go to the C:\Program Files\Logi Analytics\DataHub\infobrite-postgres folder (adjust path as needed if the default installation location was not used) and run uninst.exe to completely remove the database server.
- Delete the entire installation folder: C:\Program Files\Logi Analytics\DataHub.
- Reboot the computer.
The .NET Framework 4.5 will not be uninstalled.