Hello World! Tutorial
This topic is for new Logi developers. It guides you through the process of building a simple Logi Info application.
Requirements
This tutorial assumes that you have:
- Microsoft IIS web server and .NET Framework 4.x installed, - OR -
-
A supported Java web server and the Oracle JDK or OpenJDK 8, 11,
12, 13, or 14
 Oracle has changed its Java usage policies - see
Java Usage Policy
for important information.
-
And an un-expired trial license, or a regular or OEM license file,
installed in the
<Logi Info installation folder>\LogiStudio folder, which defaults to:
C:\Program Files\LogiXML IES Dev\LogiStudio.
Tutorial
Begin by launching Logi Studio, using its desktop icon or Start![]() All Programs
All Programs![]() Logi Info
Logi Info![]() Studio.
Studio.
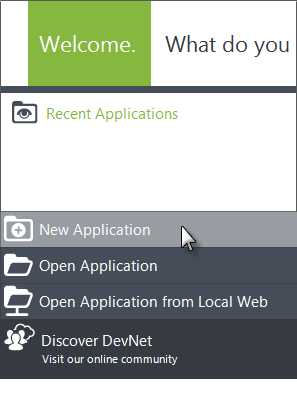
- In Logi Studio, close the Getting Started dialog box and click New Application in the Welcome Panel, as shown above.
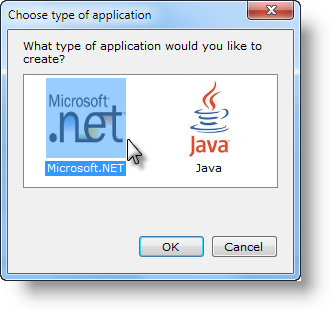
- Logi Studio is capable of producing both .NET and Java web applications. For this tutorial, we'll select the .NET option, as shown above; however, comments are included in the following steps for Java applications.
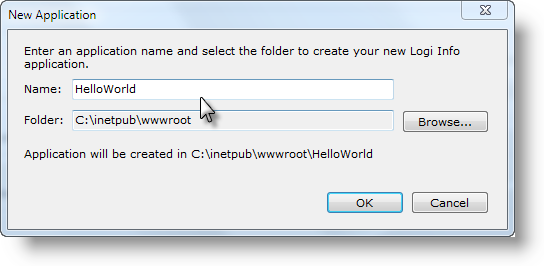
-
Provide an application name: HelloWorld - DO NOT insert a space
between the two words and be sure to use the exact capitalization shown!
Choose the location for the new HelloWorld application folder. If you're using the IIS web server, for simplicity, use the default, C:\Inetpub\wwwroot, and the wizard will create the new Logi application folder there.
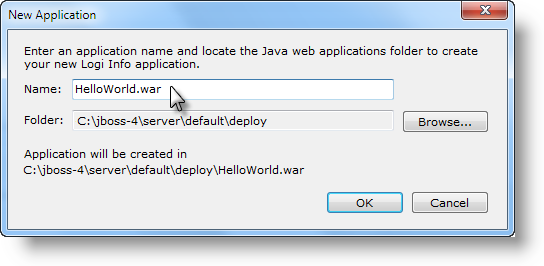
If you're using a Java-based web server, browse to its standard web application location. For example, for a default installation of Tomcat 7 this would be: C:\Program Files\Apache Software Foundation\Tomcat 7.0\webapps.
Port 8080 will be used by default in the application's URL.
-
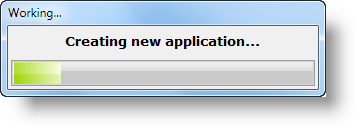
Click OK to create the application. The progress
indicator, shown above, will appear and required sub-folders and files
will be created in your HelloWorld folder. Java web servers may complain
as the wizard adds files to the folders; this is normal behavior.
-
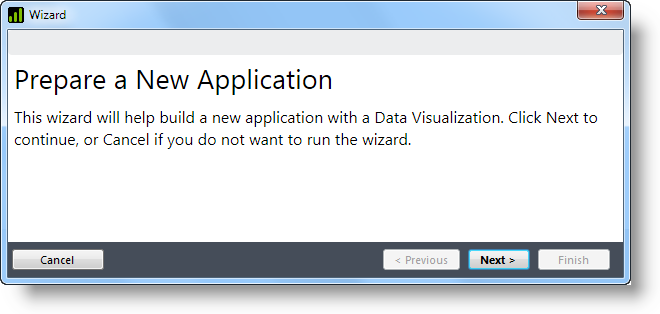
The Prepare a New Application Wizard, shown above, will start.
The next step is to configure the basic application settings and
register it with your web server. Click Next.
-
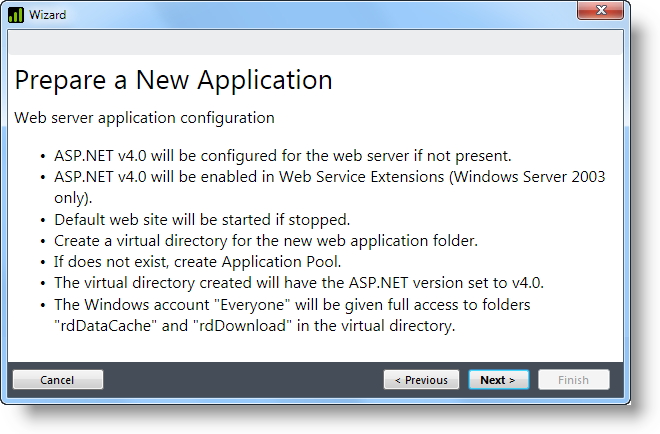
The wizard will now run the web server diagnostics and configure your
application, described in the dialog box shown above. Click
Next.
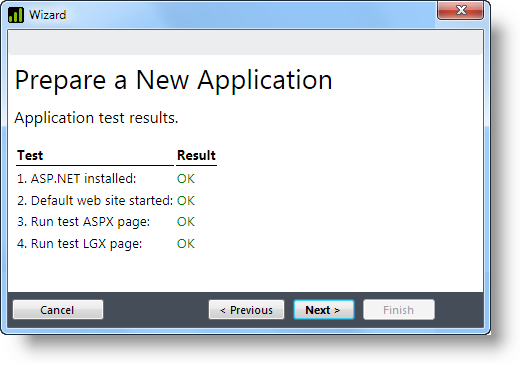
The results of the diagnostic tests will displayed, as shown above. If all test results are "OK", click Next.
-
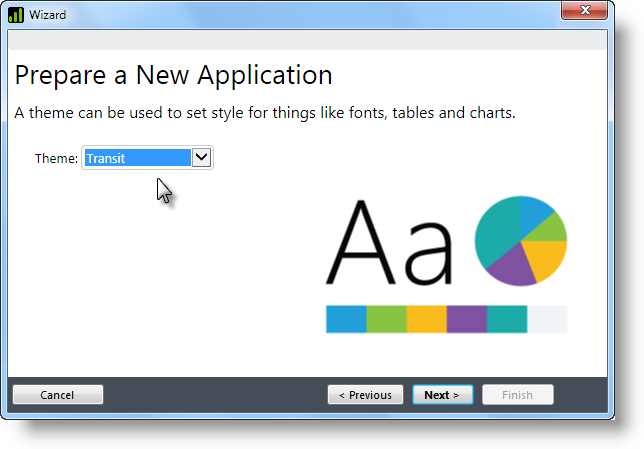
Next, you'll be asked to select a Theme for your application. Use
the default, Signal, and click Next.
-
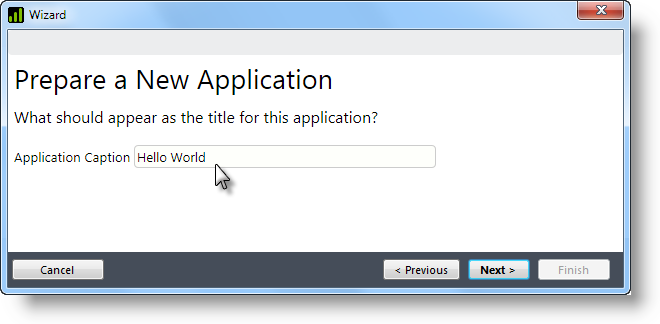
Next, enter a caption for the application, and click Next.
-
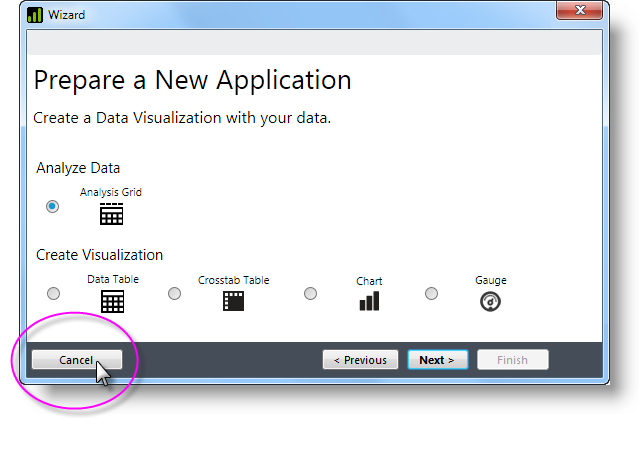
When the wizard prompts you to create a Data Visualization, click
Cancel.
-
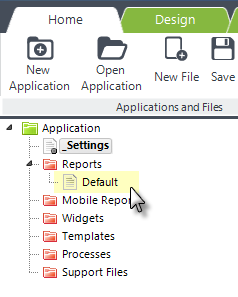
In Studio's Application Panel (at the upper-left), find and
double-click the Default report definition. It will open in the
center of the screen, in the Workspace Panel.
-
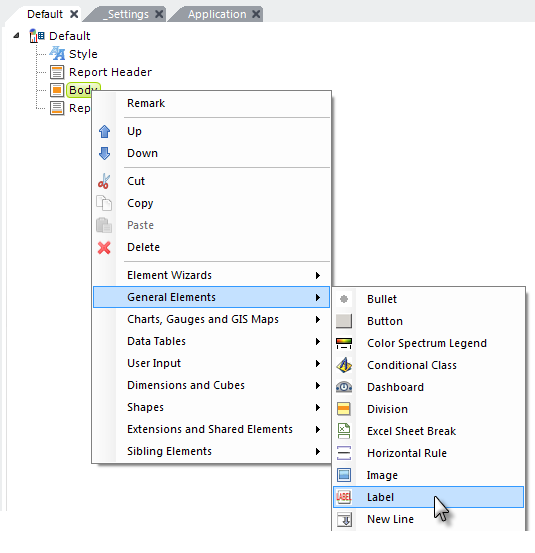
In the Default definition, right-click the Body element
and navigate the pop-up menus as shown above, finally clicking on the
Label menu item. A Label element will be added to the
definition.
-
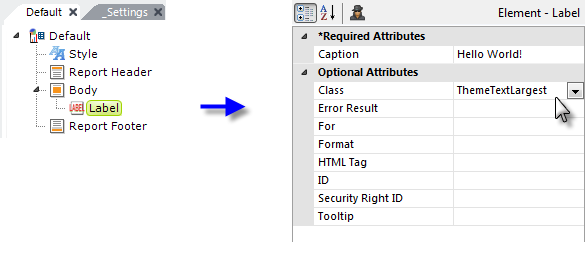
Click the Label element and, in the Attributes Panel,
enter the text "Hello World!" in the Caption attribute,
as shown above. Then, in the Class attribute, select
ThemeTextLargest from its pull-down list of style class
options.
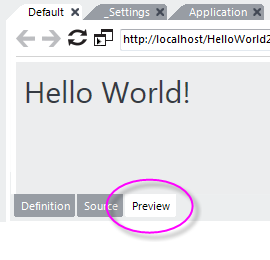
- Finally, click the Preview tab at the bottom of the Workspace Panel to save your definition and run the Default report. Your "Hello World" message should be displayed, as shown above.
Congratulations on completing your first Logi report!
Possible Errors
Did you receive an error when you tried to preview the report? Here's how
to proceed:
Error: Please specify a URL in "_Settings/Path.AppPath"
It appears the wizard failed to fill-in the proper value for the
Application Path. Open the _Settings definition, and select the
Path element. Fill-in the value for the
Application Path attribute with:
- http://localhost/HelloWorld(.NET)
http://localhost:8080/HelloWorld(Java)
Save the definition and try previewing again.