Panel Re-Arrangement and Sizing
A dashboard or tab's layout usually consists of one or more columns and, if the dashboard is configured to be adjustable, you can drag-and-drop the panels into the columns and the arrangement of your choice.
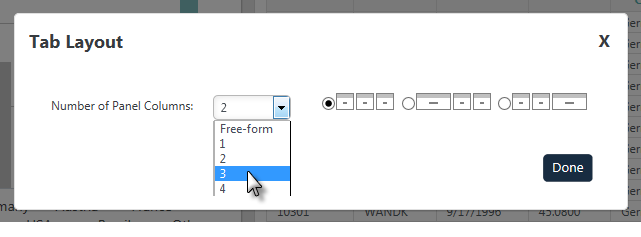
If the dashboard is adjustable, then by using the dashboard or tab's gear icon and Settings menu, you can change the number of columns in a tab or dashboard, as shown above.
Adjustable layouts let you use the "splitter bar", described below, to adjust column widths. In this case, when the layout dialog box shown above appears, you're only asked to specify the number of panel columns you want.
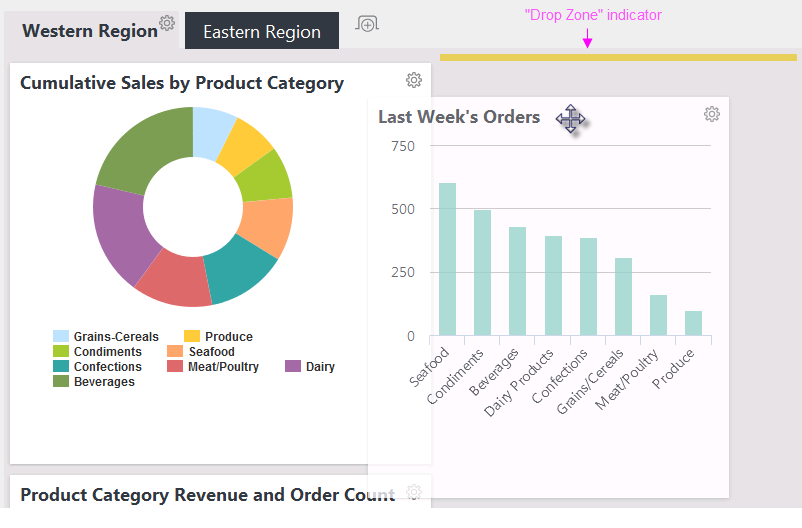
You can drag a panel to a new location by clicking on its caption bar, as shown above (note the cursor change). As the panel is dragged into a different column or position, a yellow "drop zone" indicator appears to help snap the panel into its new location.
In a columnar layout, panels will automatically resize based on the width of the column they're dropped into, and the column's width is determined by the widest panel it contains. If the contents of a panel are widened, then the panel and its column will widen, too.
This is a change from panel behavior in previous versions! In a columnar layout, panels will automatically resize based on the width of the column they're dropped into. Column width is a fixed width, determined by the layout chosen and screen width. Panel content will be automatically scaled up to the maximum width that fits in the panel. In support of this change, charts in panels
in columnar layouts no longer have horizontal resizing handles.
Using the Splitter Bar
You can change the widths of layout columns (and therefore panels) in dashboards that are configured to be adjustable by using the "splitter" bar:
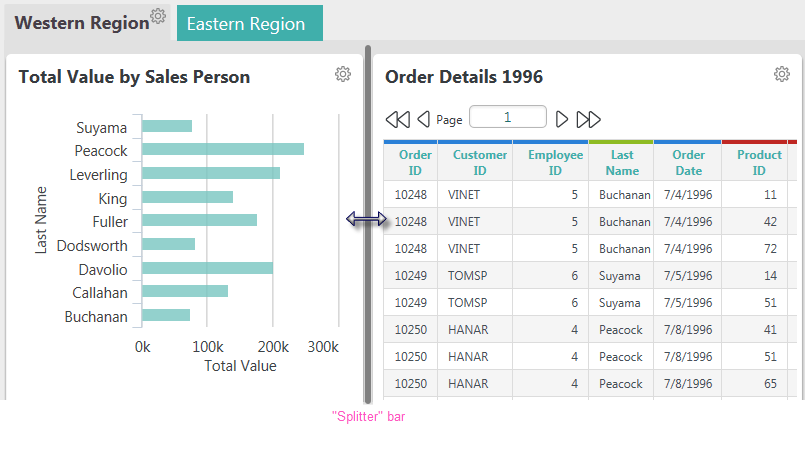
Hover your mouse cursor over the vertical space between two dashboard panels, as shown above, and a gray splitter bar will appear and the cursor will change, as shown above.
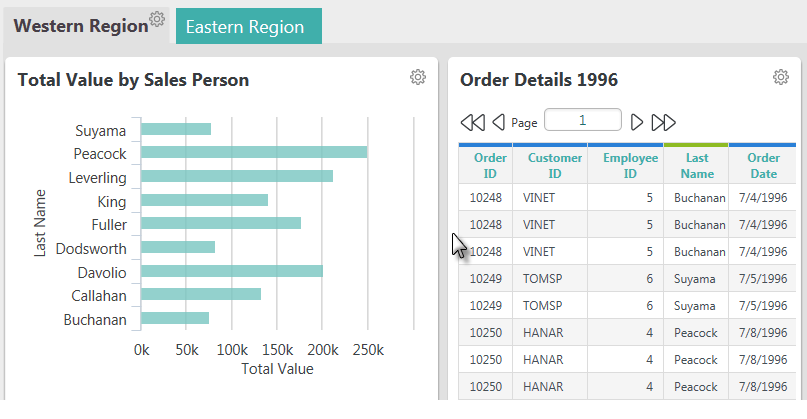
Drag the bar right or left to the adjust panel widths, then drop the bar at the desired location. Visualization widths will automatically adjust to match the change in panel widths.
Using Free-form Layout
Depending on your application's configuration, a "Free-form Layout" option may also available. If it's enabled, you can resize and rearrange dashboard panels without regard to any predetermined columns:
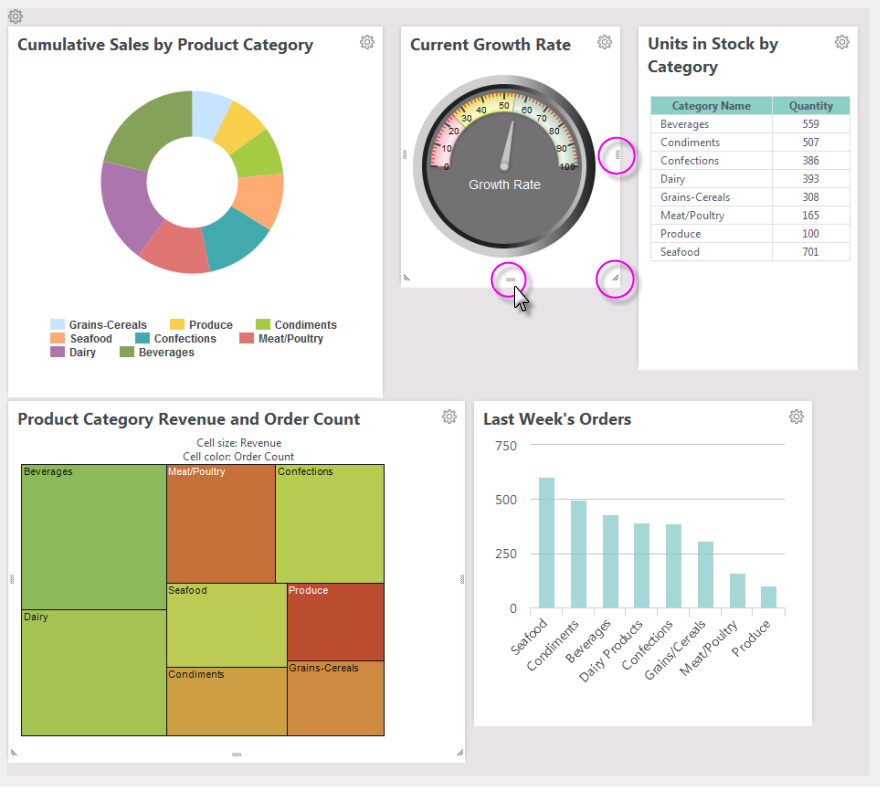
In Free-form layout, shown above, any widths and placements can be achieved. When the mouse cursor hovers over a panel, "resizing handles" appear at its sides and bottom and these can be dragged to resize the panel. Internal panel scroll bars will automatically appear if the panel is made too small for its contents.
Panel side resizing handles no longer appear; use the splitter bar, described earlier, to change panel width instead.
Given that you may be able to customize a dashboard, it's
useful to be able to save those customizations and re-use them in a future session. Your developer may have enabled an automatic "bookmark" mechanism for this, or there may be a link you have to click to save your settings.
Bookmark Undo and Redo

If the automatic bookmark mechanism is in use, Undo and Redo icons will appear beside the dashboard tabs, as shown above. You can click these to undo and redo actions you've taken.