Add Role Dialog Box
You can use the Add Role dialog box to add a role when editing a security entry or business view security so as to define its permission on different resources. This topic describes the options in the dialog box.
Designer displays the Add Role dialog box when you select the Add button  and then select Add Role from the drop-down menu in the Security dialog box, Edit Business View Security dialog box, or in the Security tab of the following dialog boxes: Category Property dialog box, New View Element dialog box, or Edit View Element dialog box.
The dialog box contains the following tabs:
You see these buttons in both tabs:
OK
Select to apply all changes and close the dialog box.
Cancel
Select to close the dialog box without saving any changes.
Help
Select to view information about the dialog box.
General Tab
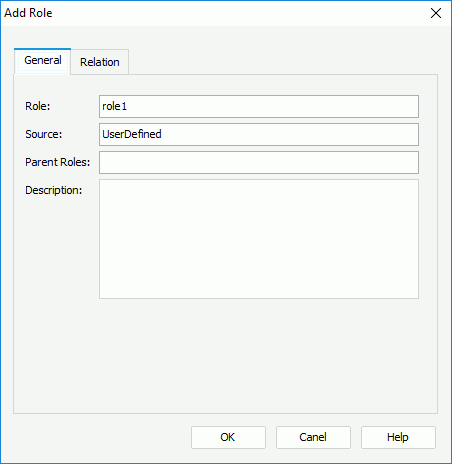
Use this tab to specify the general information of the role.

Role
Specify the name of the role.
Source
The option shows the source of the role, which is read only.
Parent Roles
The option shows the parent roles of the current role, which is read only.
Description
Specify the description of the role.
Relation Tab
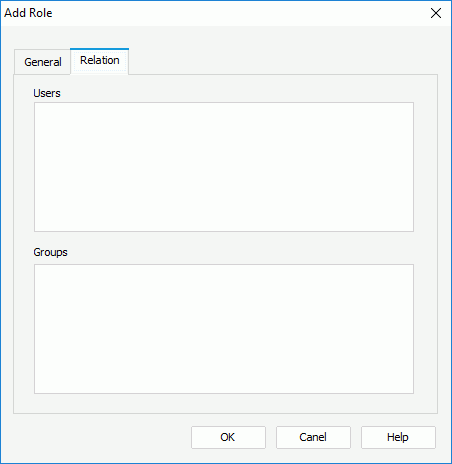
Use this tab to specify the relationship between the role and the existing users and groups.

Users
The box lists all the available users. Select a user to add it into the role.
Groups
The box lists all the available groups. Select a group to add it into the role.
 Previous Topic