DataLayer.XML
The DataLayer.XML File element gives developers the ability to retrieve data from an XML data file. This can be very useful for reading primary data files and temporary files written out by the Logi application.
Attributes
The DataLayer.XML File element has the following attributes:
| Attribute | Description |
|---|---|
ID | (Required through v10.1.46) A unique element ID. |
| XML File | (Required) The identifier of the XML data file. If the file is located in the application's _DataXMLs folder, then only the file name and extension are needed. If it's located elsewhere in the file system, a fully-qualified path and file name is required, such as: D:\Projects\Accounting\Data\MyData.xml |
| Maximum Rows | Specifies the maximum number of data rows to be retrieved. |
| Remove Namespace | Specifies whether the namespace and schema information that some XML data sources will add to the retrieved data is removed. The default value is False. |
| XPath | Specifies a standard XPath string that will be used to select a set of matching nodes. All of the matching nodes are then used to generate the resulting datalayer. |
Workwith DataLayer.XML File
Data in an XML file is required to be in a specific format for use within Logi reporting products: data rows must be child elements of the root element, and data columns must be attributes of the data rows.
|
<CarInfo> |
The example above illustrates the required formatting. When received into the datalayer, the data from this file will consist of eight data rows, each with Brand, Model, and Code columns.
The datalayer has an optional child element, XslTransform, which can be used to transform the format of the retrieved XML data before it's loaded into the datalayer. This allows the adjustment of XML data that has a schema that doesn't match the format shown above.
XML data files make great temporary repositories for data retrieved from databases, possibly saving the overhead of another database query. For example, it may be faster or more efficient to export data retrieved from a database in one part of a Logi application out to a temporary XML file, then later, in another part of the application, read it back in with DataLayer.XML File.
The following example shows DataLayer.XML File in use:
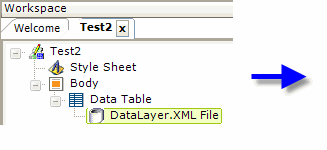
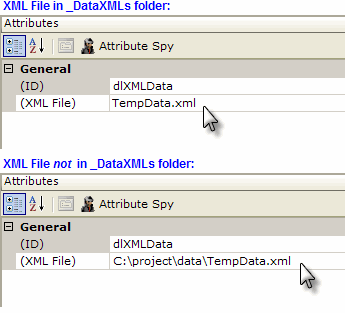
As shown above, a DataLayer.XML File element has been added beneath a data table. Its XML File attribute has been set to a value that can vary depending on the location of the actual file. There is no query or search feature; everything in the file will be pulled into the datalayer (where it can then be sorted, filtered, etc. using appropriate elements).
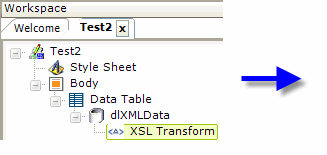
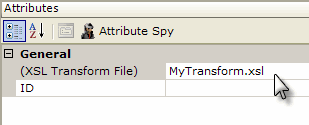
As shown above, one or more XslTransform elements can be added beneath the datalayer for each XSL transform to apply to the XML data before it is retrieved into the datalayer. The same rules apply for the XSL file location and name as for the XML file (i.e. in the example above, the XSL file is in the _DataXMLs folder).
Using It with Input Select List
One convenient use of XML data files is as a source of options for menus and selection lists. Compared to a table, an XML data file can be created more quickly and is easier to edit. Unlike static data hard-coded into the application, an XML data file can be edited externally. Here's an example of a common use of XML data and DataLayer.XML File for this purpose:
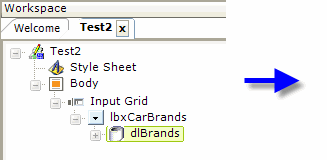
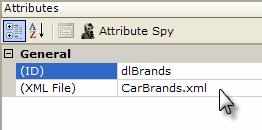
A DataLayer.XML File has been added beneath an Input Select List element ("lbxCarBrands") and its attributes set to use the sample XML file shown in the previous section. In the Input Select List's attributes, "Brand" is identified as the Caption Column and "Code" as the Value Column.
Use Studio's DataLayer Wizard
Beginning in v10.0.299, Studio includes a wizard that can assist you in configuring DataLayer.XML File.
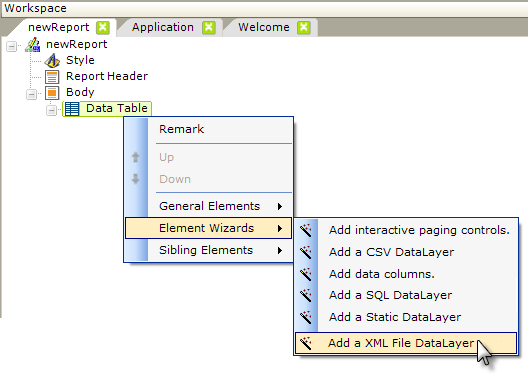
As shown above, the wizard can be started by selecting and then right-clicking the parent element under which you want to add the datalayer, and using the context menus to select "Add a XML File DataLayer". The wizard will open; use it as follows:
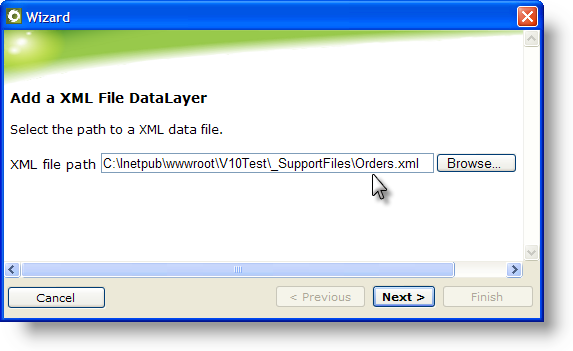
- Enter (or browse to) the fully-qualified path and filename of the XML file to be used. Click Next to continue.
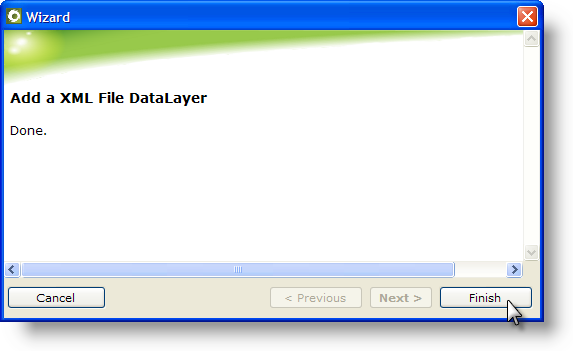
- Click Finish to insert the datalayer.

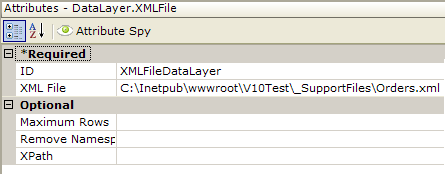
- The wizard will insert the datalayer and configure its attributes, as shown above. Other optional attributes may have to be configured manually.