Install Logi Info/Logi Report on Windows Server of Windows XP
Welcome to Logi Analytics reporting products. This topic guides you through installing Logi Info or Logi Report, versions 10 or 11, on a single computer under the Windows XP or Windows Server operating systems, for use with the IIS web server.
- Installation Scenarios
- Licenses
- Preparing to Install
- Installing the Software
- Modifying or Repairing an Installation
- Fixing the Installation Order Problem
![]() Installing on Windows 7? See Install Logi Info/Logi Report instead.
Installing on Windows 7? See Install Logi Info/Logi Report instead.
Installing for use with a Java web server? See Install Logi Studio instead.
Installation Scenarios
There are two major parts to the Logi product in the installation file you downloaded:
Logi Studio, our development environment, is a Windows application that's typically installed on a Windows development machine and interacts with the local IIS web server for Logi application development and testing.
The LogiServer Engine is a set of files that's part of each Logi application and which provides an extension to the IIS web server at runtime. When you build a Logi application, Studio adds the Engine files to the application. The engine also includes a Windows utility application, Logi Server Manager, that allows you to perform basic configuration of Logi applications without using Studio.
A very typical installation scenario is to install Studio and the Server Engine on a development machine, and then install only the Server Engine (including Server Manager) on the production web server. This "development and production" dual installation is allowed by our licensing scheme.
Additional copies of Studio may be licensed and installed on additional development machines.
There are a number of ways to deploy your Logi applications to production, including using Studio's built-in Application Deployment tool.
Other installation scenarios, involving shared network drives and team development, can be used. This topic covers installation of Studio and the Server Engine on a development machine, and also explains what's needed to install the Server Engine on a single production server.
32- or 64-bit?
Logi Info and Logi Report are both available for 32-bit and 64-bit systems. There are different Logi product distribution files for 32-bit and 64-bit versions, so be sure you've downloaded the right one for your system.
Licenses
Current Logi Info and Logi Report versions come with a built-in 15-day trial license. You need do nothing but install the product and you can begin using it. A clearly-visible display, shown below, in the Studio main menu counts down the days remaining in the trial period.

Clicking the counter display will take you to a web page that offers information about purchasing a Logi Info license.
After the trial period expires, Studio and any Logi reports you may have developed will no longer run without a real license.
Logi Analytics licenses are server-based rather than individual-user or concurrent-access licenses, so an unlimited number of end-users can access Logi reports through a single web server.
Our licensing scheme allows you to deploy our product on one development machine and on one production server. Additional separate licenses for Studio, for additional developers, are also available.
Licenses are keyed to you or your organization; they take the physical form of license files, which are assigned to a specific computer. DevNet includes a License Management page where you can manage your licences, including reviewing them, assigning and un-assigning them to machines, and generating license files, at any time, without any interaction with our staff. For more detailed information about licenses, see Product Licensing.
You may not use our products for redistribution with, or embed them in, other products without an OEM license; contact our Sales group for more information if you need an OEM license.
Preparing to Install
![]() Administrator privileges on the target computer are required to complete the
installation of Logi reporting tools.
Administrator privileges on the target computer are required to complete the
installation of Logi reporting tools.
Installation order matters! For a fresh install on a clean machine, the order of installation should be:
- Microsoft Internet Information Server (IIS)
- .NET 2.0, 3.x, or 4.x Framework
- Logi products
Logi products for the Windows environment, and Logi Studio, require the .NET Framework. Prior to v11.0.127, .NET v2.0 or 3.x was required; for v11.0.127 and later, .NET 4.x is required. If not already in place, with your consent, appropriate versions of the .NET framework are installed when Logi products are installed. They are also available for free from the Microsoft Download Center.
![]() It is critical that IIS be installed before the .NET framework. If for some reason this order is reversed you will need to run a utility program to complete the installation. See the Registering .NET in the IIS Metabase section.
It is critical that IIS be installed before the .NET framework. If for some reason this order is reversed you will need to run a utility program to complete the installation. See the Registering .NET in the IIS Metabase section.
In addition, under the Windows Server OS, the ASP.NET web service extension is a critical part of running .NET applications on IIS servers. Ensure that this has been properly configured, as follows:
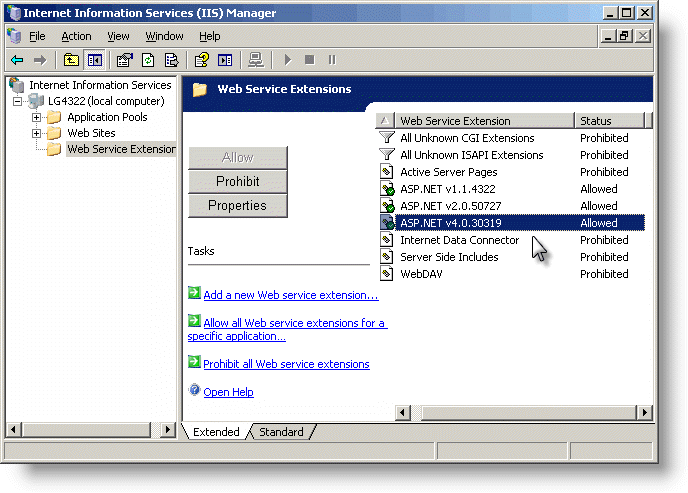
- On the web server, open IIS Manager and select the Web Service Extensions item in the left hand tree list, as shown above.
- Ensure that the ASP.NET v4.0.xxxxx web service extension has been "Allowed" to operate. Click the Allow button if necessary to assign this status (if using the Standard view, right-click the entry and select Allow from the popup menu).
The IIS "Default Web Site"
When it's installed, IIS creates a "Default Web Site" and the New Application wizard in Logi Studio expects to create all new Logi applications as virtual directories of that web site. If you have renamed, replaced, or disabled the "Default Web Site", or have installed another web server that handles HTTP requests on Port 80, the wizard will fail during its application registration phase. Under these circumstances, you can continue to use Logi Studio to develop Logi applications but you will need to manually register them. This process is described in Windows IIS Configuration.
Installing the Software
As usual, you can click Back at any time before the physical installation begins to go back to the previous screen.
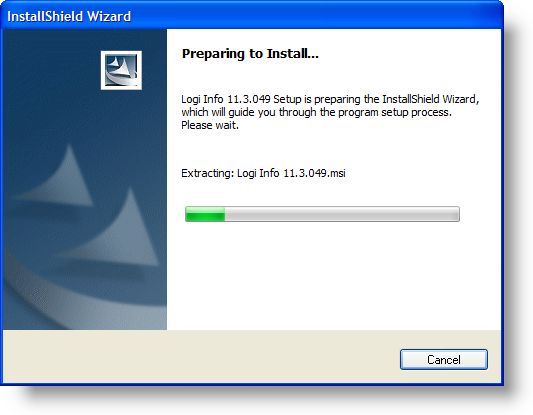
- Double-click the Logi product installation file to launch InstallShield. Allow it to complete the installation preparation.
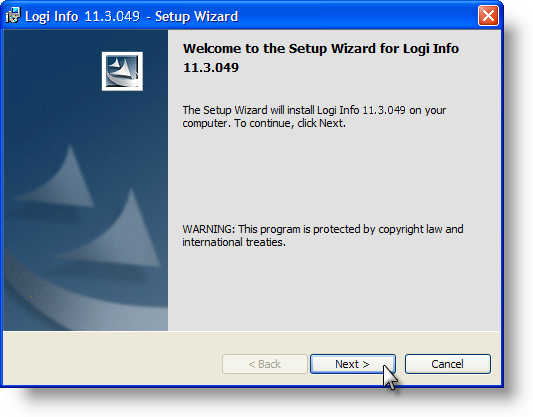
- When the Welcome Screen appears, click Next.
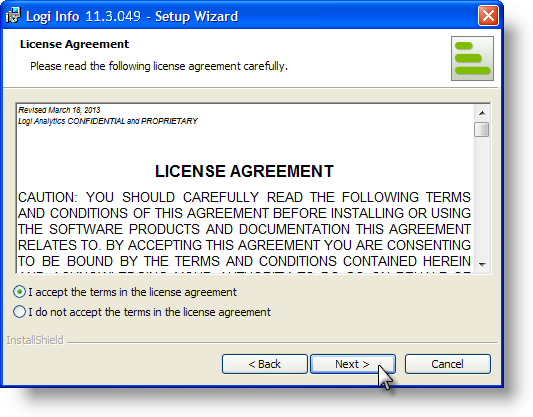
- License Agreement: Select the "I accept the terms..." radiobutton after reading the license agreement and click Next to continue.
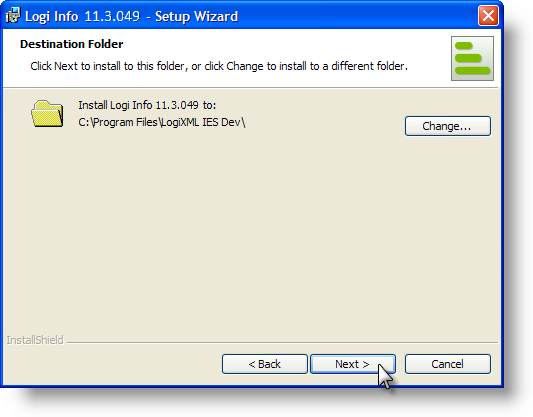
- Destination Folder: Optional - click Change to specify an alternative installation location if you don't like the default location. Multiple versions may be installed on the same machine and will co-exist smoothly using the default values here. Click Next to accept the installation location and continue.
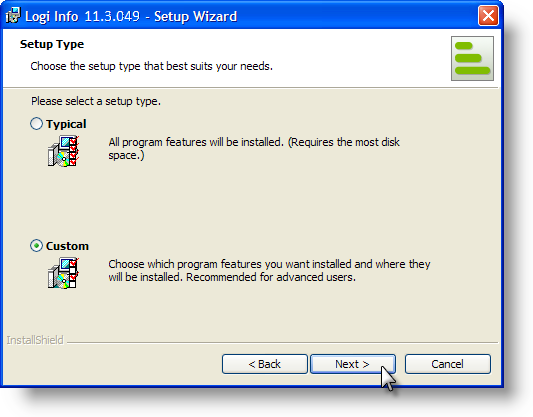
- Setup Type: Select the Typical or Custom radiobutton (see Custom information below) and click Next to continue.
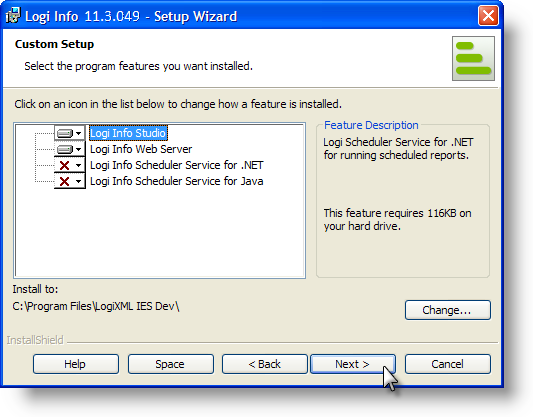
If you selected a "Typical" setup, skip ahead to Step 6.
If you selected a "Custom" setup, the dialog box shown above appears. The following components are available during a Custom setup:
- Studio - The integrated development environment used by developers to create applications and report definitions. Click to remove Studio from the installation if you're only installing the Logi Server Engine.
- Server - The Logi Server Engine that processes XML data in report definitions and outputs HTML (includes Server Manager).
- LogiXML Scheduler Service for .NET- The Logi Windows Service that manages scheduled events; required if you want to have scheduled report generation and distribution. Not available in Logi Report.
- LogiXML Scheduler Service for Java- The Logi Java daemon that manages scheduled events; not applicable when using the .NET version of Logi Info. Not available in Logi Report.
Click any of the components shown and make a selection from the popup menu to include them in the installation. If desired, click Space to review the disk space requirements for the Custom setup you've selected. Click Next to proceed without the review.
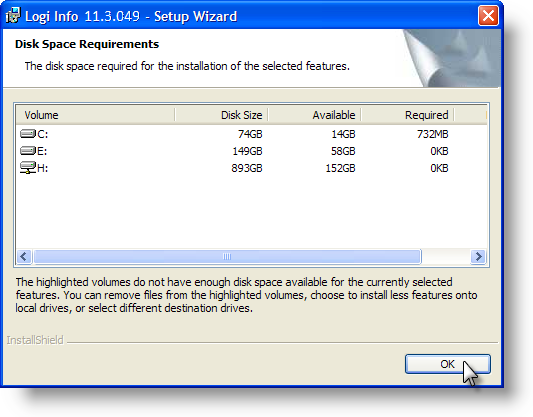
The Disk Space Requirements display will give you information about the available storage space and warn you if there is not enough space to complete the installation, You can repeatedly adjust the components in the Custom setup and see the effect on storage here, if necessary. Click OK to return to the previous dialog box.
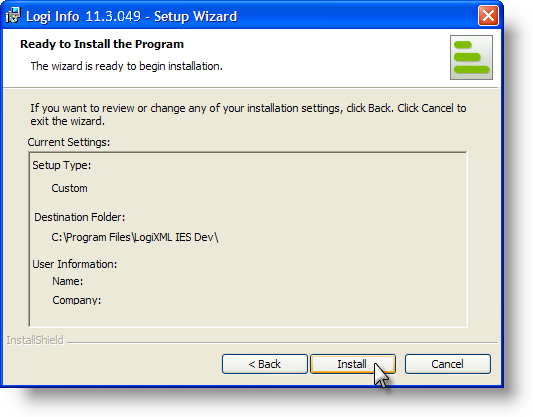
- Installation Summary: Review the installation summary and click Install.
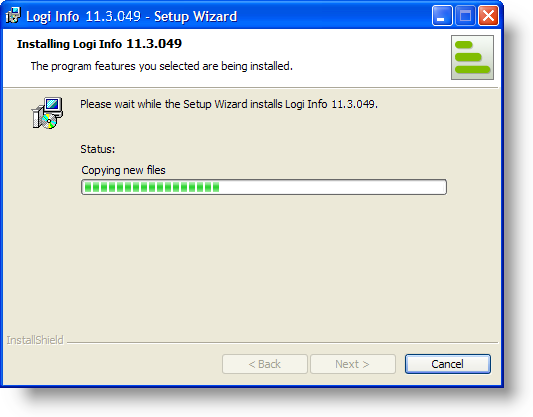
- The physical installation will begin and you'll see several progress indicators for different tasks.
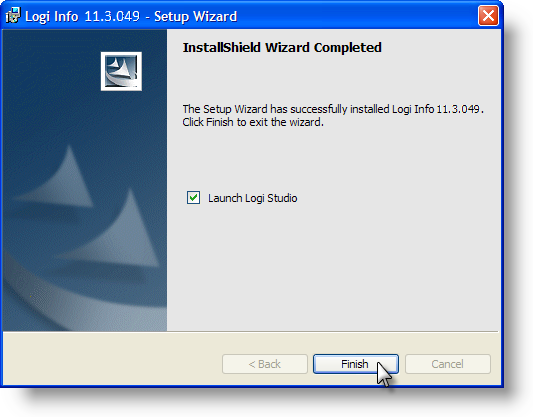
- Installation Completed: click Finish to exit
the installer (if you have only installed the Logi Server Engine, there will be no "Launch Logi Studio" checkbox visible).
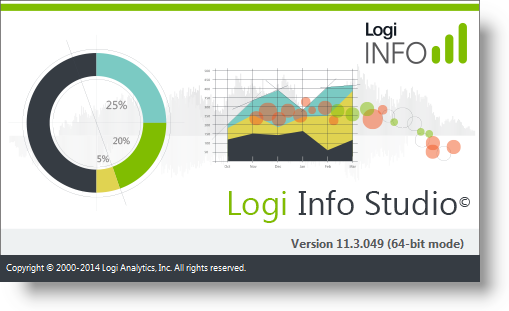
- If you left the "Launch Logi Studio" checkbox checked, Studio will now launch and you should see a splash screen like the one shown above.
You can also launch Studio by using Start Menu All Programs
 Logi Info or Report
 Studio.
Should you need to, you can launch Server Manager using Start Menu All Programs
 Logi Info or Report
 Server
Manager or from Studio's Tools menu. More information about using Server Manager is available in Use Studio 11.
Installation is complete and you may begin to use Studio and/or the Server Engine immediately.
Modifying or Repairing an Installation
Suppose you installed Logi Info but didn't initially install the Scheduler, and now you find you want to schedule reports. Or you suspect a .DLL file is missing or is corrupted and you want to fix it.
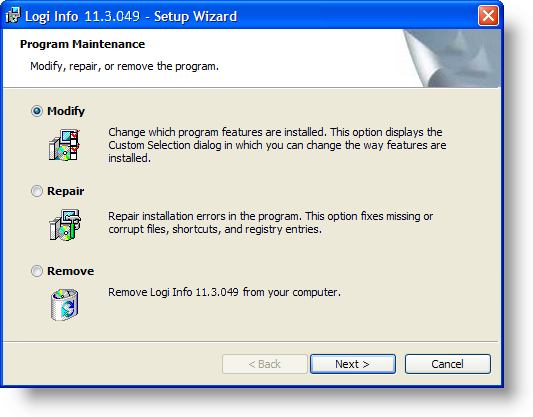
These kinds of situations can be addressed by either modifying or repairing the installation, which you should do by re-running the installation .exe file. Do not use Control Panel ![]() Add-Remove Programs
to do this; it
will request an .msi file, which is not retained after the original installation.
Add-Remove Programs
to do this; it
will request an .msi file, which is not retained after the original installation.
Fixing the Installation Order Problem
If IIS was inadvertently installed after the .NET framework, you'll receive errors such as "Failed to access IIS metabase" and be unable to access Logi reports and applications (and any other ASP.NET applications). To resolve this situation, register the .NET framework with the IIS metabase using the utility aspnet_regiis.exe.
Only One .NET Version in Use
If all of your web applications (Logi and others) use the same .NET framework version, follow these steps:

- Open a Command Prompt window using Start Menu > Run or Start Menu > All Programs > Accessories > Command Prompt.
- Using the "cd" command, navigate to the .NET 4.0 folder in the system directory. The example path shown above is on a Windows 2003 Server system and may vary slightly for other Windows operating systems.
Note that the folder shown as "v4.0.30319" is named after the version and build of .NET as installed and so may also be different if your computer has a slightly different build installed. Just look for the "v4.x.xxxxxxx" (or latest) folder.
- Run the aspnet_regiis.exe utility as shown and don't forget the -i argument.
- Use the IIS Manager tool to stop and restart the IIS server.
Multiple .NET Versions in Use
If you have web applications (Logi and others) that use different versions of .NET, then follow these steps:
- Open a Command Prompt window using Start Menu > Run or Start Menu > All Programs > Accessories > Command Prompt.

- Using the "cd" command, navigate to the folder for the appropriate .NET version in the system directory. The example path shown above is on a Windows 2003 Server system and may vary slightly for other Windows operating systems. Note that the folder shown as "v4.0.30319" is named after the version and build of .NET as installed and so may also be different if your computer has a different build installed. Just look for the "v4.x.xxxxxxx" (or latest) folder.
- Run the aspnet_regiis.exe utility as shown and don't forget the -ir and -enable arguments.

- Run it again, this time using the arguments shown above, but substituting the number in IIS Manager of the web site running your application (for almost everyone, this is the Default Web Site, which is 1) for [WebSite#], and the name of your Logi application to register for [YourApp]. For example,
aspnet_regiis.exe -sW3SVC/1/ROOT/SampleDataTable
Repeat this step for each application using one .NET version, then use the "cd" command to change to the folder for the next .NET version being used, and repeat the process for all applications using it.
- Use the IIS Manager tool to stop and restart the IIS server.
Your Logi applications and other ASP.NET applications should now work correctly. Please consult your server administrator, network manager, or web master if any of the above seems very foreign to you.