Thinkspace - Filtering Rows
The data used in your analysis can be filtered to remove unwanted data. This is done by setting filter criteria based on column values, resulting in rows matching the criteria being "removed" from the data (the data is hidden, not actually deleted).
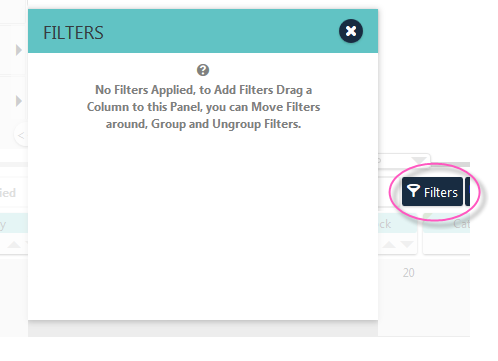
Filter configuration can be initiated by clicking the Filters buttons just above the data table. A panel, shown above, will open as a drop zone for the pills of columns to be filtered.
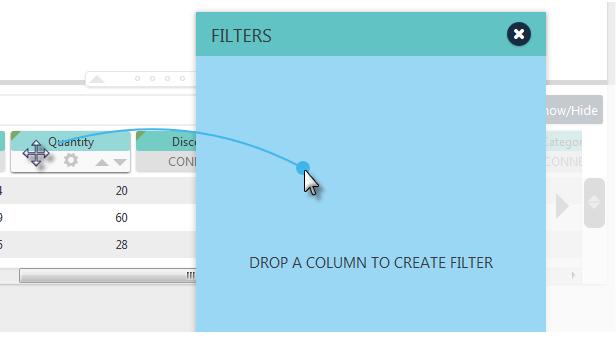
Drag and drop a column pill into the zone to create a filter on that column, as shown above.
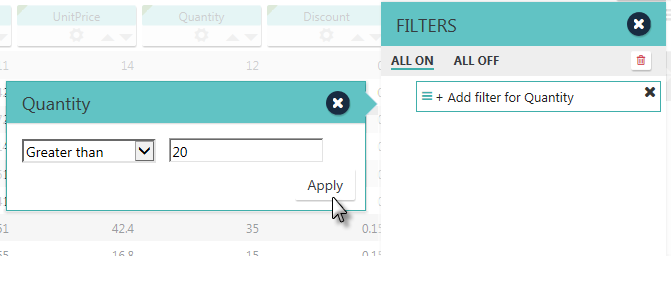
A configuration panel, shown above, will appear with controls for configuring and managing the new filter. Configure your filter and click Apply; the filter will be created and the data table will be immediately filtered. Your new filter now appears in the Filters panel.

As you create filters, they'll appear in both in a list in the area just above the left-hand end of the data table, shown above left, and in the Filters panel, shown above right.
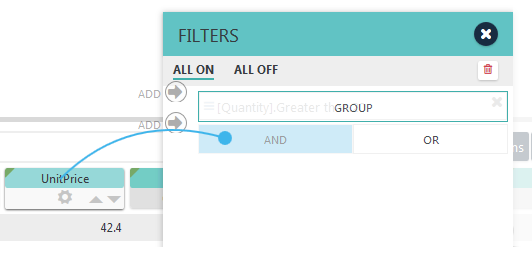
To create additional filters, drag additional column pills into the Filters panel and, as shown above, drop them on the AND or OR blocks.
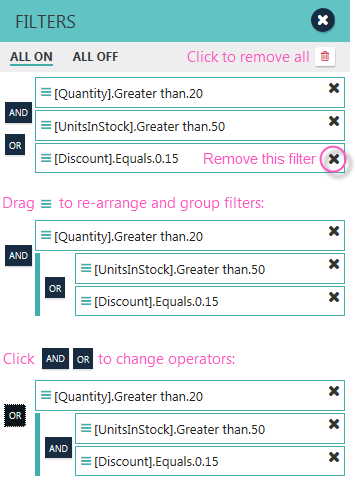
Filters can be re-arranged, grouped, and combined using the controls in the Filters panel, as shown above. Filters can be removed by clicking their "X" icon. Filters can be enabled or disabled en masse using the links at the top of the panel, or can all be removed at once using the Remove All icon.