Create a Dataview
Logi Platform Services technology provides you with an advanced means of data retrieval based on the "Dataview", a definition that specifies data connection information, query details, and data enrichment details.
To create and manage Dataviews, you use the Dataview Authoring tool in Logi Studio (or, assuming a default installation, browse it directly using http://localhost:3000/Datahub/Account/Login). We'll use an abbreviated process to help you quickly create your first Dataview.
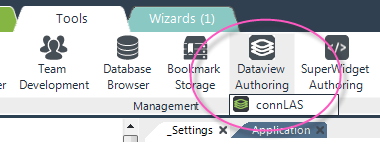
Run the Dataview Authoring tool, on Studio's Tools tab, shown circled above. This menu item will only be visible if Logi Platform Services has been installed. Click once to display the list of connections, then click the connection in the list. The tool will open in your default browser:
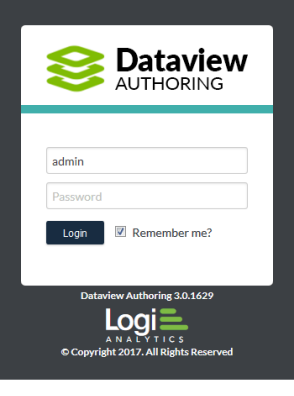
You'll be presented with the Login page, shown above. Enter the "admin" user name and the password you supplied when configuring the Connection.Logi Application Service element. Click Login to access the tool.
Create a Data Source
You'll see the Dataviews home page in your browser.
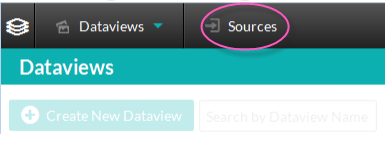
A connection to data is called a "Source"
and, in this exercise, we'll
create a new Source based on a SQL database. Click the Sources menu item, shown circled above.
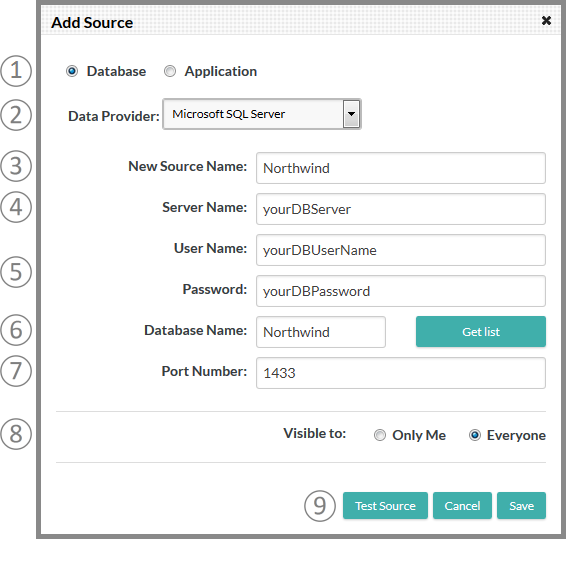
The Add Source panel, shown above, will appear. ![]() There will be different
fields presented depending on the Data Provider selection. Skip down to the next example if using an MS SQL Server Named Instance. Otherwise, select or provide the required information, as follows:
There will be different
fields presented depending on the Data Provider selection. Skip down to the next example if using an MS SQL Server Named Instance. Otherwise, select or provide the required information, as follows:
- Database - Select the Database radio button, making the fields shown above visible.
- Data Provider - Select the desired database or provider type. There are several MS SQL Server options, allowing for its different security schemes.
- New Source Name - Give the source an arbitrary name for easy recognition later in the list of sources.
- Server Name - Enter the database server name or IP address.
- User Name and Password - Enter the credentials required to access the database.
- Database Name - Enter the target database name (or, for Oracle, the "Service Name").
For Microsoft SQL Server, MySQL, and PostgreSQL providers, you can use the Get List button to select the database name from a list.
For some providers, an Advanced Options link will be shown, allowing you to set special configuration options, such as Schema Name or Warehouse Name, specific to that provider. - Port Number - Enter the Port number for the connection. The default port number for the provider will be displayed.
- Visible To - Select Everyone for this exercise.
- Test Source - Click the button to attempt to make the connection specified and provide a status message. In addition to indicating either success or failure, any existing Source with the exact same specifications will be identified so you can decide whether to use it instead or proceed to save your new Source.
Click Save to save your new Source.
Working with a SQL Server Named Instance
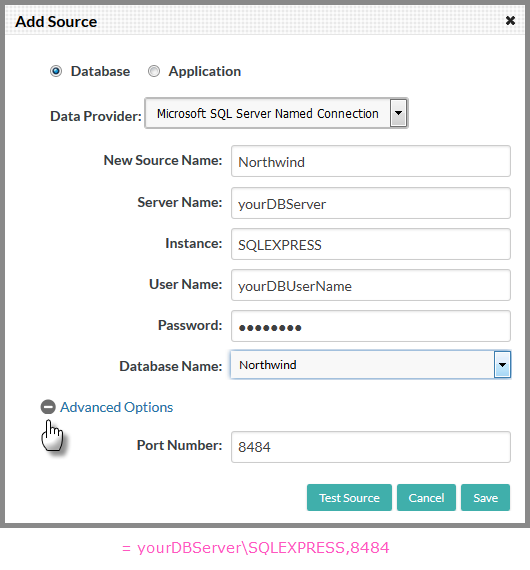
If you're trying to connect to a named instance of Microsoft SQL Server, such as yourDBServer\SQLEXPRESS,8484
then the example connection shown above will not work. You may have
noticed that the Data Providers selection list includes several
Microsoft SQL Server variants. One of them is Microsoft SQL Server Named Connection and here's an example configuration for it:
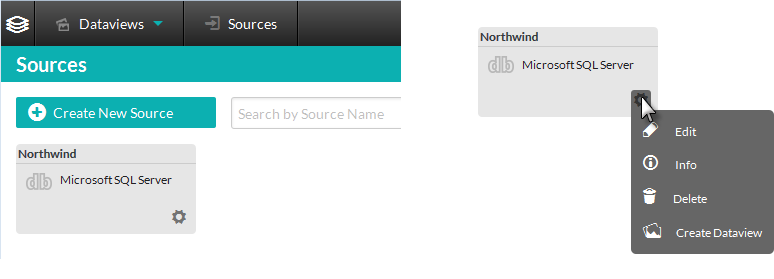
Once you've created a Source, it will appear on the Sources page as a graphic "pill", as shown above. You can click a pill's gear icon to edit it, delete it, etc. This source can be used multiple times for different Dataviews.
Author a Dataview
Now that you have a data Source, you can author a Dataview.
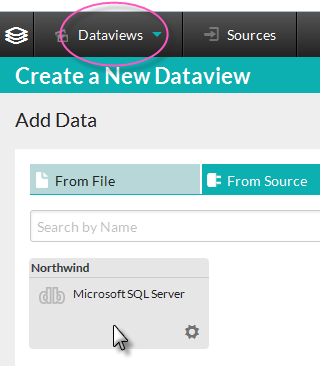
In your browser, click the Dataviews menu item at the top of the page, shown circled above, and Create a New Dataview in the drop-down menu. You should see your connection pill in the new dataviews page. Click the pill and the Dataview Configuration tab will appear:
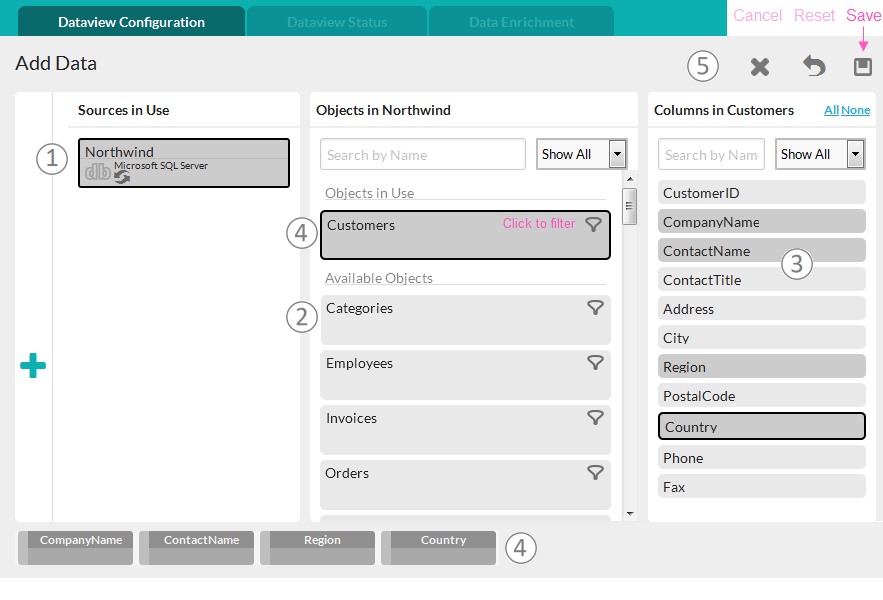
Follow these steps, keyed to the image shown above, to select data for the Dataview:
- Sources in Use - This panel displays the data Source selected for use by this Dataview.
- Available Objects - This is a list of available data objects that haven't been selected yet. Click an object here to select it. When you do, its columns will appear in the Columns panel.
- Columns - Click some of the object's columns to select them (click again to unselect).
- Objects in Use - This panel appears when you select a column and its data object is placed in the "Objects in Use" list. At the same time, a pill representing the column is added to the table at the bottom of the page.
- Action Icons - Click the Save icon to save your Dataview. Other icons let you Reset all selections to their defaults or Cancel Dataview creation.
When you click the Save icon, you'll be prompted to provide a name for your Dataview. After the new Dataview is saved it will immediately loaded from the data source. The Dataview Status tab will be selected and you'll see the object details and a few rows of data in the table at the bottom of the page.
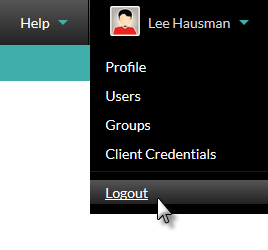
This Dataview can be used multiple times for different widgets. You can repeat the process to create additional Dataviews if you'd like; otherwise hover your mouse over your name in the upper-right corner of the page and select Logout from the drop-down menu. To keep this exercise brief, we've done the bare minimum. There are many additional features available when authoring Dataviews, including filtering, joins, and custom objects, and they're fully described in Dataview Authoring.