Using the Dimension Grid Wizard
The following examples walk you through using the Dimension Grid
wizard.
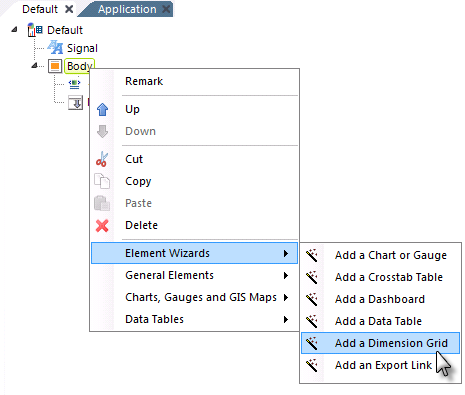
-
Start the wizard by right-clicking the grid's parent and selecting
Element Wizards
 Add a Dimension Grid, as shown above.
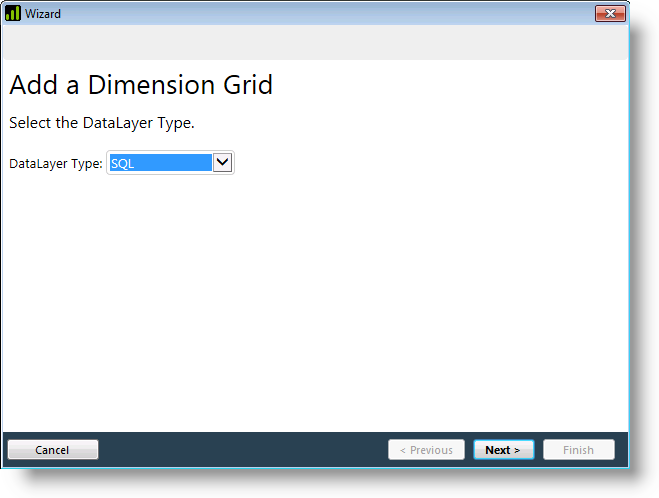
- Datalayer Type - Select the appropriate datalayer type for your
datasource. Click Next.
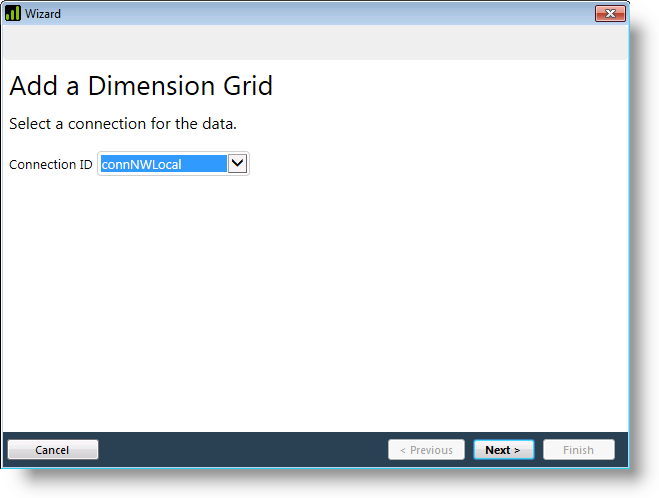
- Connection ID - Select the desired connection from the list of
connections defined in the _Settings definition. Click
Next.
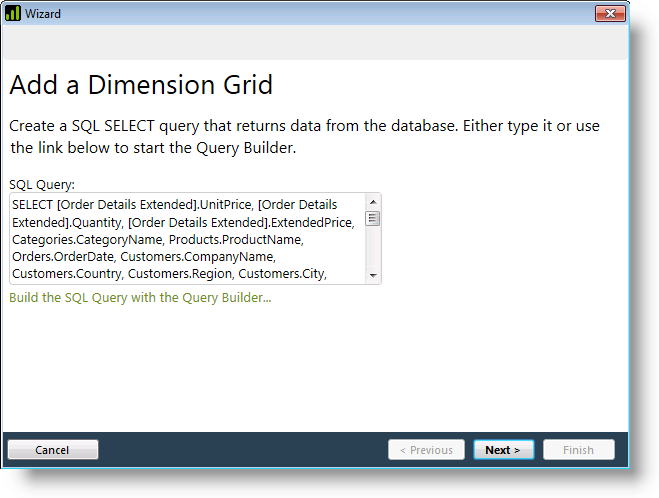
- SQL Query - If you 're using a SQL datasource, enter the query
(or use the query wizard to build one) and click Next. This
example uses the following T-SQL query:
SELECT [Order Details Extended].UnitPrice, [Order Details
Extended].Quantity, [Order Details Extended].ExtendedPrice,
Categories.CategoryName, Products.ProductName, Orders.OrderDate,
Customers.CompanyName, Customers.Country, Customers.Region,
Customers.City, Employees.LastName, Employees.FirstName
FROM [Order Details Extended]
INNER JOIN Orders ON [Order Details Extended].OrderID =
Orders.OrderID
INNER JOIN Products ON [Order Details Extended].ProductID =
Products.ProductID
INNER JOIN Categories ON Categories.CategoryID = Products.CategoryID
INNER JOIN Customers ON Customers.CustomerID = Orders.CustomerID
INNER JOIN Employees ON Employees.EmployeeID =
Orders.EmployeeID
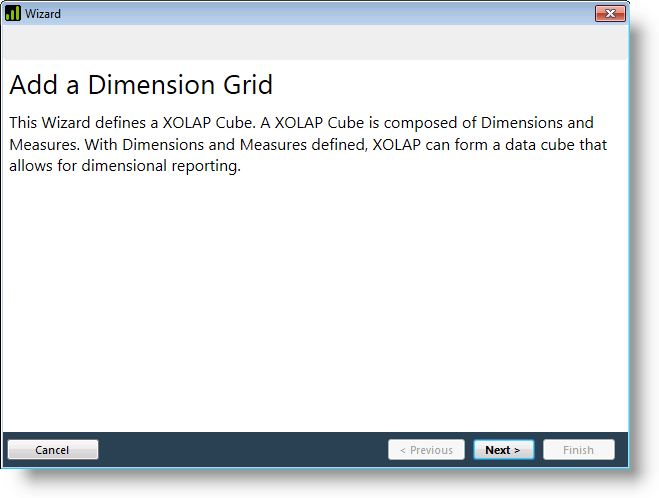
- Xolap Cube Wizard - Click Next to start the cube
wizard.
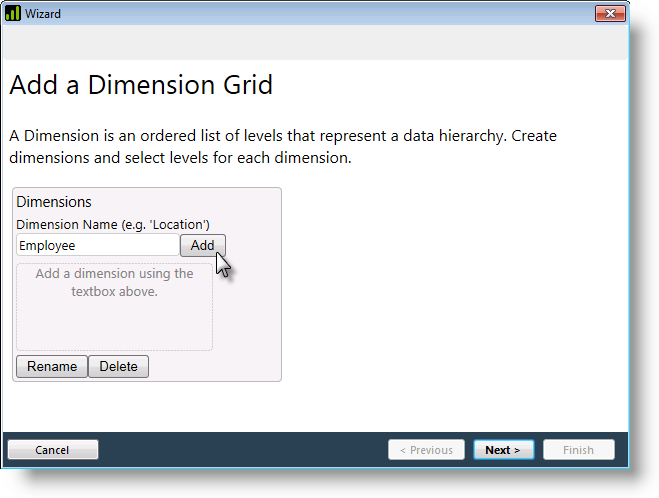
- Create Dimensions - Add dimensions by entering the arbitrary
Dimension Name in the text box and clicking Add.
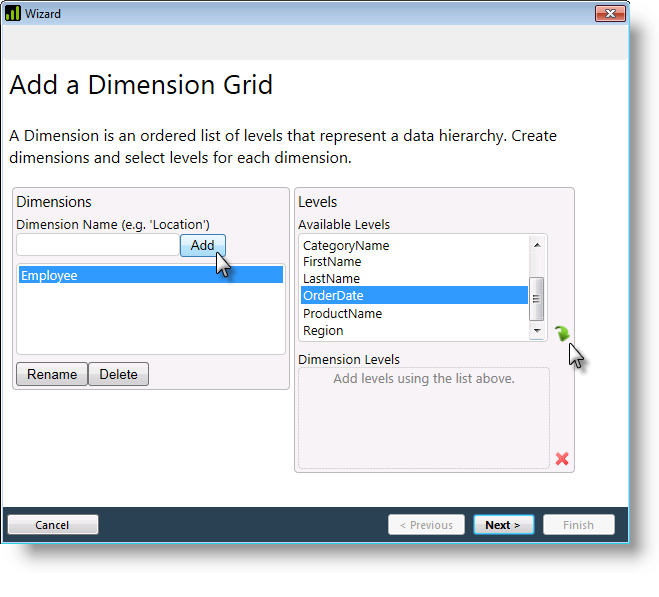
- Add Levels - Select a data column for a hierarchical level from
the list and click the green arrow icon, as
shown above.

If you select a Date type column, the wizard will prompt you, as shown above, to add time period columns to the data that parse out the Year, Quarter, Month, or Day values, as shown above.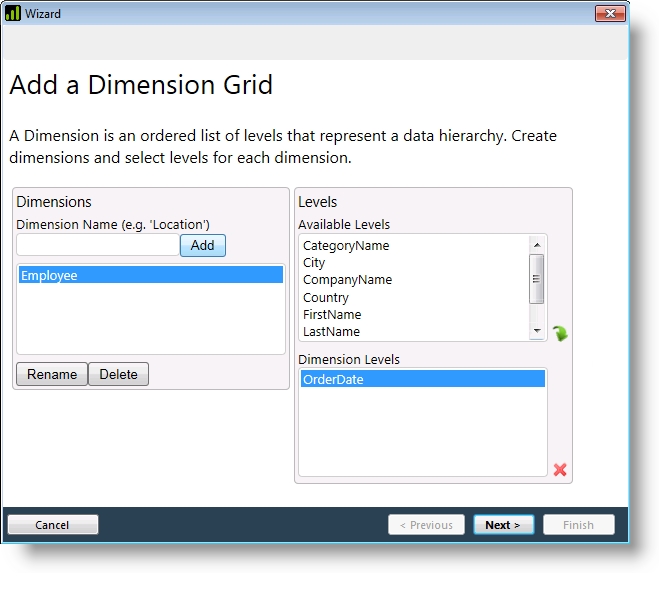
The column you selected will be added to the lower list of Dimension Levels. Repeat to add as many levels as desired. To remove a level, select it and click the red X icon. Refer to the end of the topic if you're creating levels using Date-type columns.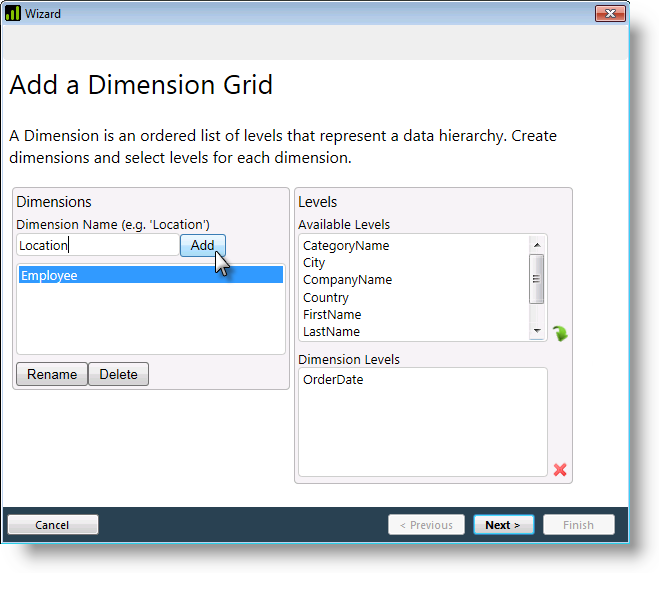
- Add More Dimensions and Levels - Repeat the process of adding
dimensions and levels until all dimensions have been configured. Use the
Rename and Delete buttons to affect dimensions you've already
configured. When all dimensions and levels have been configured, click
Next.
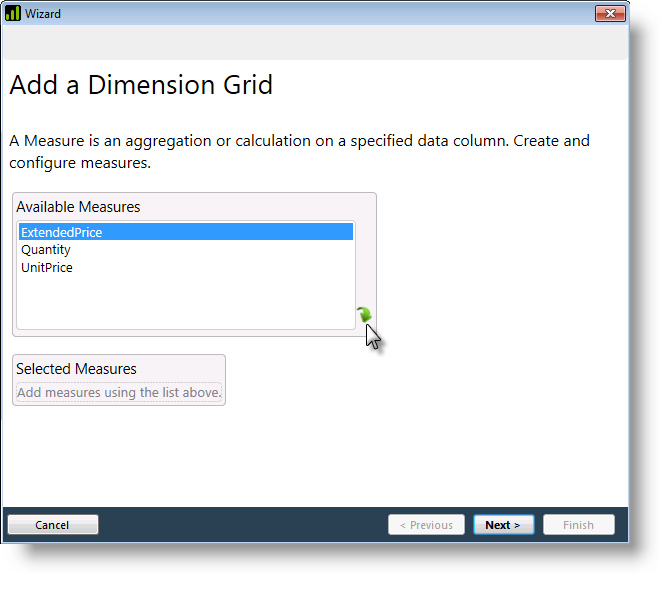
- Create Measures - Select a data column to be aggregated from the list and click the green arrow icon, as shown above.
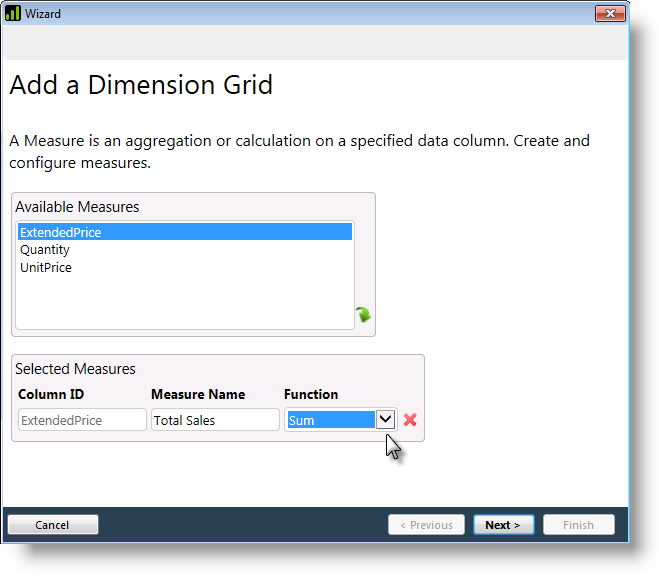
The selected measure will appear below. Enter an arbitrary Measure Name and select the aggregation or summarization function to be applied to it. To remove a measure, click the adjacent red X icon.
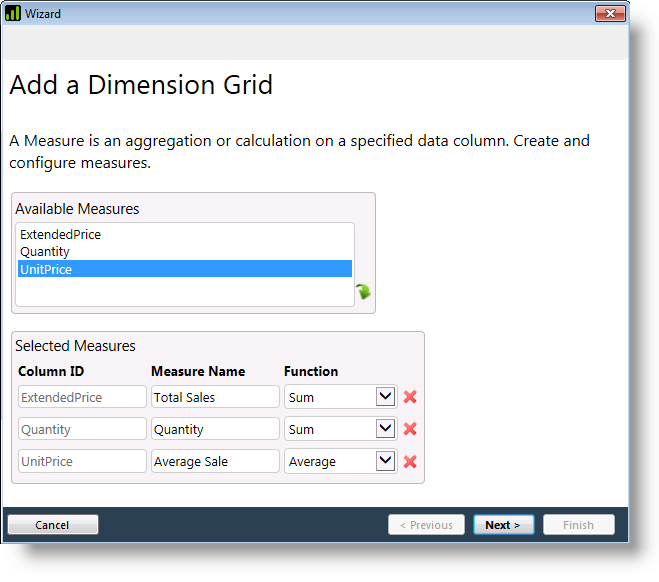
- Add More Measures - Repeat the process until all measures have
been configured, then click Next.
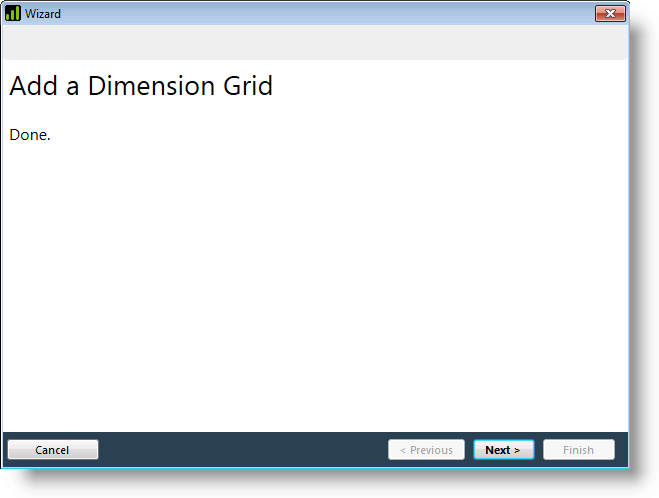
- Done - Click Finish to close the wizard.
The wizard has added all the appropriate elements to your report
definition. Save the definition and run it.
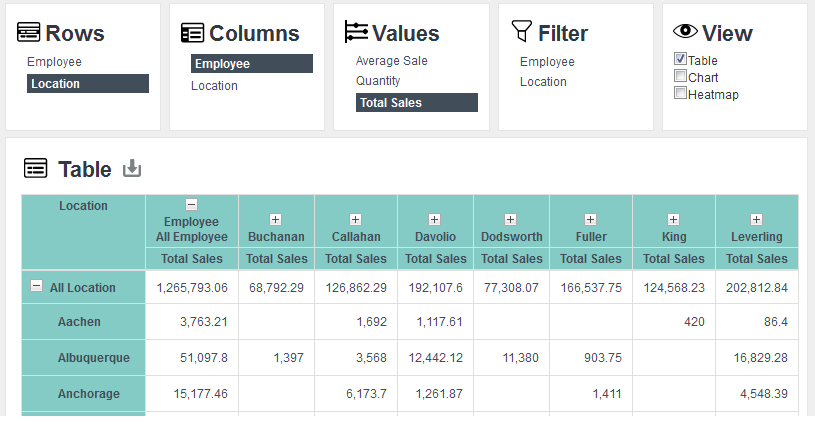
When it appears, select dimensions, measures, and values from the Dimension Grid and view your data.
![]() You may need to manually set the Format of Date type columns.
You may need to manually set the Format of Date type columns.