Dashboard Wizard for Developers
This topic introduces Logi Info developers to the Dashboard Wizard in Logi Studio. Dashboards provide an excellent method of presenting business intelligence in a discrete but condensed manner and Studio's wizard makes creating them easy.
The following sections are covered in this topic:
- About Dashboards
- The Dashboard Wizard
About Dashboards
A "dashboard" is a collection of panels containing Logi reports, which in turn contain table, charts, images, etc. At runtime, the user can customize the dashboard by rearranging these panels on the browser page, by showing or hiding them, and even by changing their contents using adjustable reporting criteria.
Collections of panels can also be arranged in tabbed panels within
the dashboard, allowing grouping. The reports displayed in dashboard
panels are regular Logi reports, sized to fit the panel space.
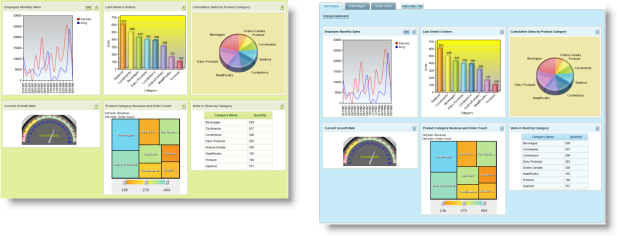
As shown above, dashboards are frequently used to give users a broad view
of a variety of information at once. The data displayed within the
panels can be configured, as in any Logi report, to link to other reports,
providing "drill-down" functionality.
For more detailed information about the Logi Dashboard element, see Logi Info Dashboard .
The Dashboard Wizard
Logi Studio includes a wizard to assist developers in the creation of dashboards:
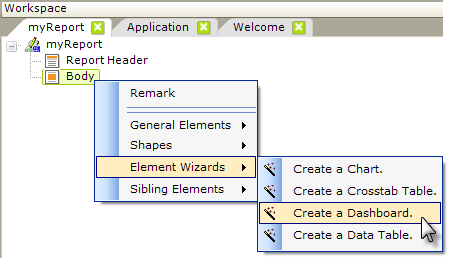
The wizard can be started by right-clicking any valid dashboard parent element and selecting it from the context menu, as shown above. The option is also available in the Wizards folder of the Element Toolbox.
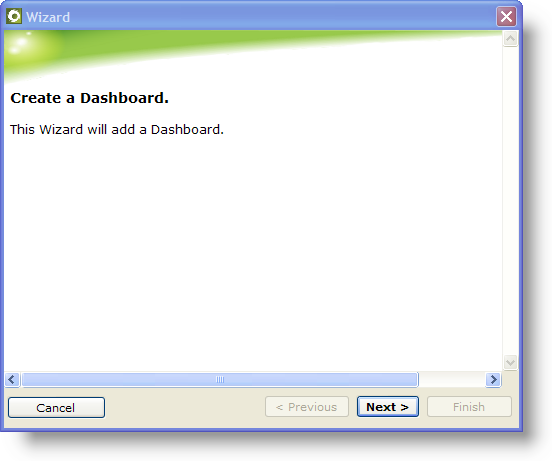
1. When the wizard is started, it will display an introductory dialog box, shown above. You can click Previous at any time to return to the previous dialog box. Click Next to continue.
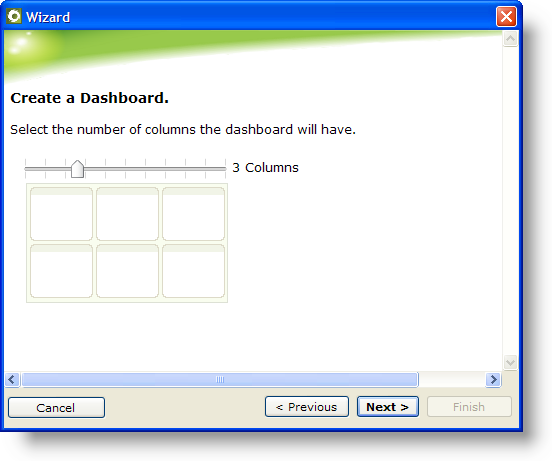
2. The wizard will prompt you to select the number of columns to include in the dashboard. Move the slider to increase or decrease the number of columns. Click Next to continue.
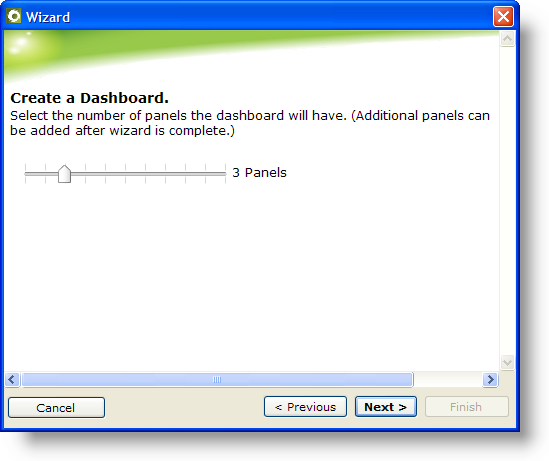
3. The wizard will prompt you to select the number of dashboard panels to include in the dashboard initially. You may add additional panels later, when the wizard completes, if necessary. Move the slider to increase or decrease the number of panels. Click Next to continue.
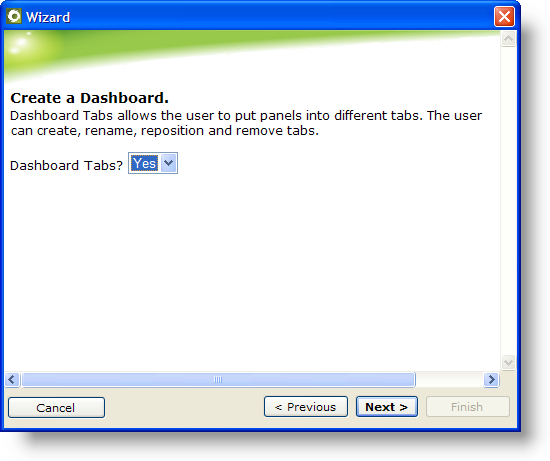
4. The wizard will prompt you to select the indicate whether or not the dashboard will include tabs. If you allow it, users can add and manage the tabs at runtime. Select Yes or No and click Next to continue.
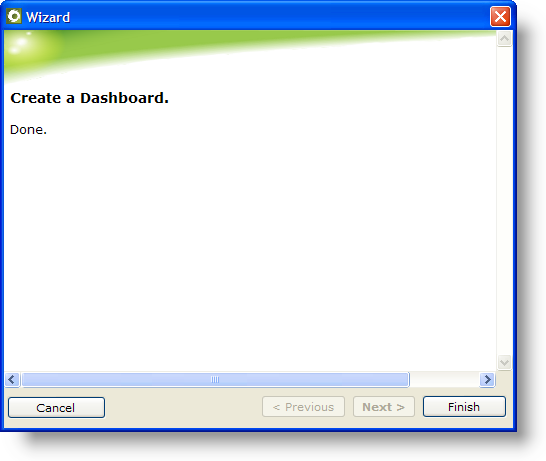
5. The wizard will insert all of the elements necessary to create the dashboard and then finally display the dialog box shown above. Click Finish to complete the process.
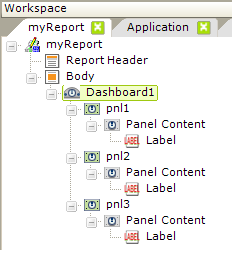
Your definition will now include all the elements, similar to those shown above, inserted by the wizard. At this point, you may begin to add elements for the content of the individual dashboard panels.