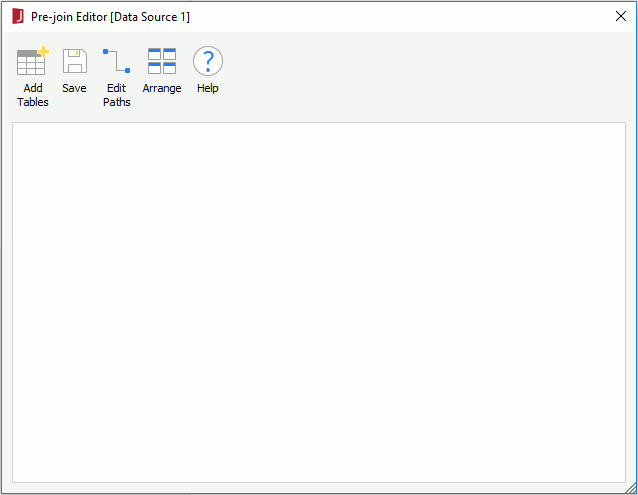
Pre-join Editor Dialog
The Pre-Join Editor appears when you select Pre-join in the Catalog Manager toolbar, select a data source and then select OK. It helps you to edit pre-joins in the selected data source of the current catalog, which can be used for Creating/Editing Queries. See the editor.
First you need to add some tables. Select the Add Table button and then select resources such as tables, views, synonyms, queries, imported SQLs, stored procedures, and user defined data sources from the Add Tables/Views/Queries dialog.
You can then make joins between the tables by using mouse drag and drop. Point to one column in the source table, press and hold the mouse button, then move the pointer to the other column in the target table and release the mouse button. A green line with a join icon  will be shown, linking the two columns.
If you want to further edit a join, double-click its join icon  and the Join Options dialog will be displayed for you to edit it.
After you have made some joins between the tables, you can then use them to define paths. To define paths, select the Path button on the toolbar of the editor.
Add Table
Pops up the Add Tables/Views/Queries dialog to add or remove resources such as tables, views, synonyms, queries, imported SQLs, stored procedures, and user defined data sources.
Save
Saves all the changes.
Edit Path
Opens the Save Pre-join Path dialog to define pre-join paths.
Arrange
Organizes the tables in the panel to be tidy.
Help
Displays the help document about this feature.
 Previous Topic
