Dashboard Designer (pre-v2019.2)
This topic applies to pre-v2019.2 of the application. For current Dashboard documentation, see Dashboard Designer (v2019.2+).
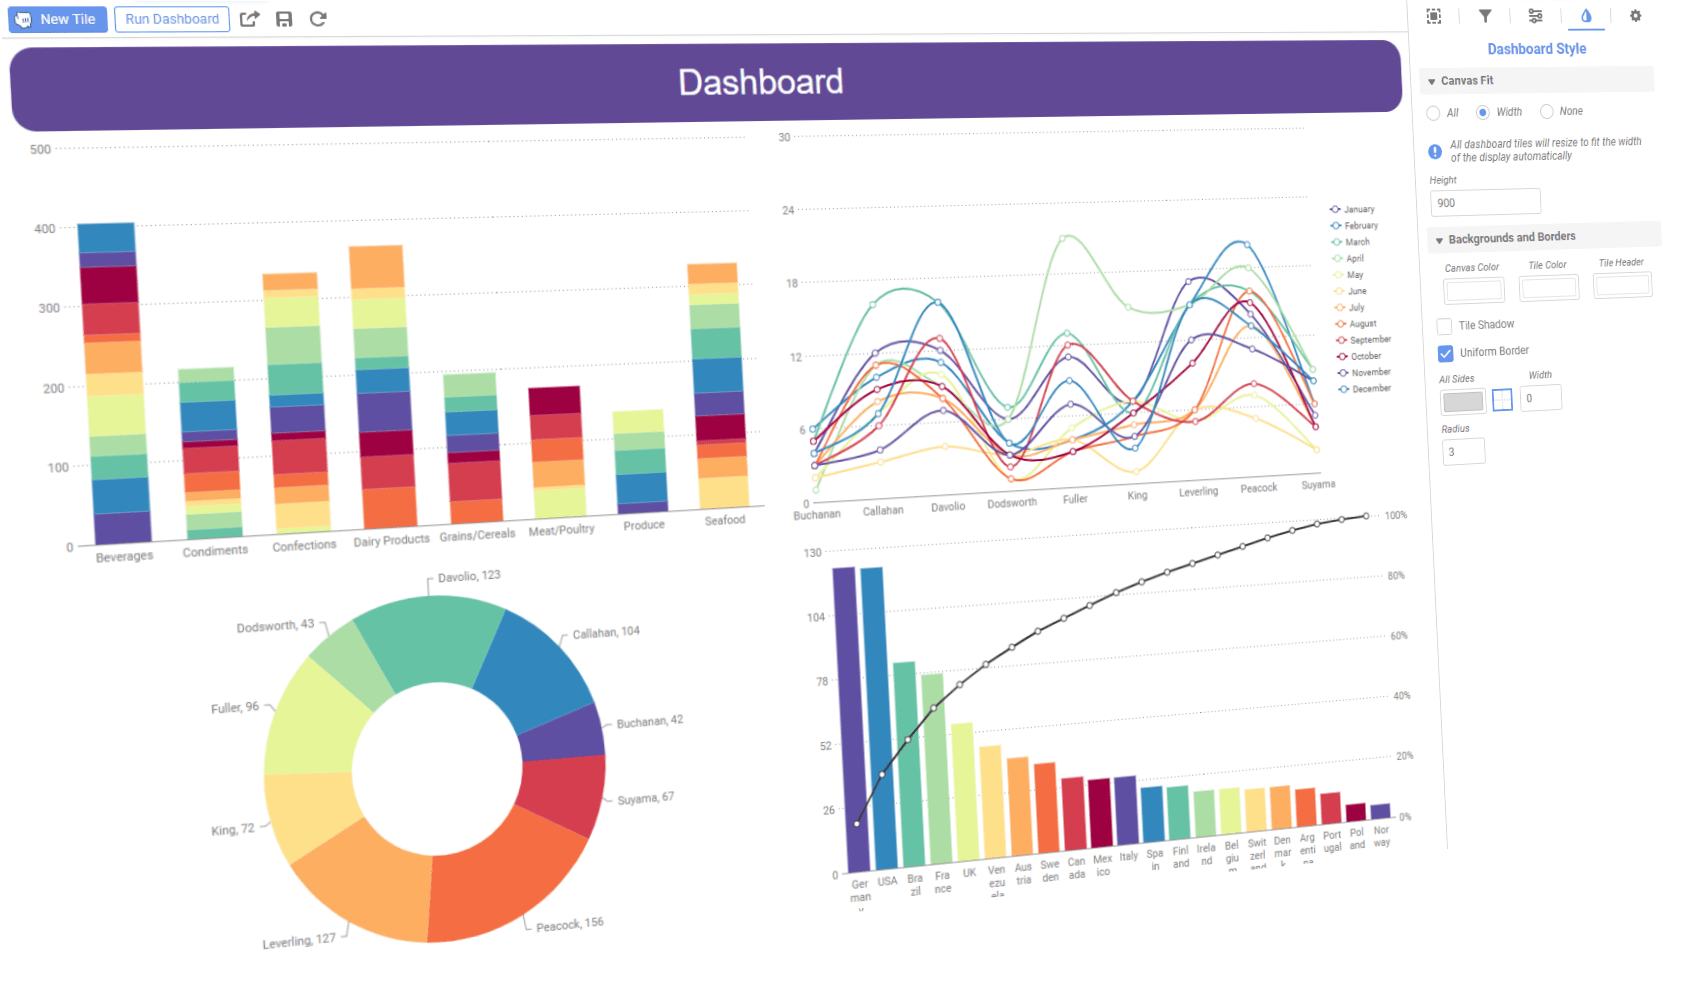
Dashboards are a way to combine a several related reports into one unified viewing space. You can add preexisting reports to a Dashboard, but you can also create new ExpressViews and visualizations directly on the Dashboard itself. Add images, text, embed other web sites side by side with the data, add interactive filters which can work on multiple reports all at once, and export the Dashboard as a Chained Report from the Dashboard Designer.

Double-click a Dashboard to open it in the Dashboard Designer, or click the Menu  icon and select
 ![]() Edit.
Edit.
Grid and tiles
Each element on a Dashboard is a rectangular tile that can be resized and dragged to the proper location. Tiles are arranged onto a grid, and they will snap into place next to each other.
Adding tiles
To add a new tile to the Dashboard, drag the  New Tile icon onto the Dashboard grid. You can drag to an empty location to fill the space, to the side of an empty location to take up a portion of the space, or over another tile to place it adjacent and resize the other tile to fit. You can then drag the resizing handles for fine grained control over the tile size.
A new tile placeholder will be added.

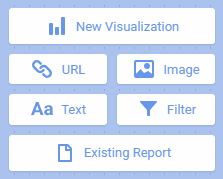
Select what type of content should be on the tile:
New Visualization
Create a new ExpressView visualization in the tile. Choose between a chart or a tabular ExpressView. See ExpressView Visualizations for more information.
URL
Embed another web page inside the Dashboard. Enter the URL, or web address, to the text box and click Finish.
Image
Upload an image file. Drag the image onto the tile or click browse your files and locate the image.
Text
Enter text into a field that can be formatted and styled.
Filter
Add several styles of interactive filters, which can affect multiple reports on the Dashboard. Filter tiles will not display in Dashboard exports. See Interactive Filters and Exporting Dashboards for more information.
Existing Report
Drag an existing report onto the tile. See Adding Reports for more information.
Screen fit and scaling
Tiles can resize and adjust their positions automatically to fit different screen sizes. A Dashboard will automatically resize to fit on a large television or a smart phone screen, so there is no need to make multiple Dashboards for different screen sizes.
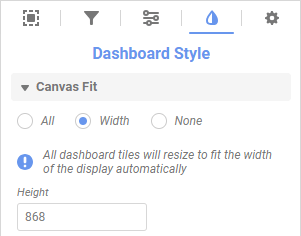
You can customize how Dashboards will scale to fit different screen sizes. Click the style


All
Tiles will resize to fit the height and width of the screen (default). Tiles must be larger than 3-grid units tall and/or 4-grid units wide or less to automatically resize.
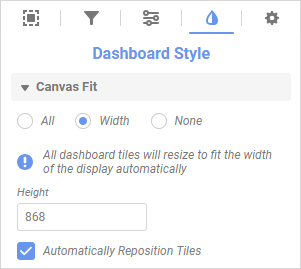
Width
Tiles will resize to fit the width of the screen. Specify the Height of the Dashboard and whether or not to Automatically Reposition Tiles, which dynamically derives an optimal new layout for the Dashboard tiles using the screen size as input. Tiles must be larger than 20 pixels tall or 4-grid units wide to automatically resize.
None
Tiles will not resize. Specify the Height and Width of the Dashboard. Use the Snap to Grid
You can also use the Dashboard Style 
Managing tiles
Every tile has a formatted header, background color, and border. Some types of tiles can be set to resize differently than the Dashboard canvas. Tiles have a menu with some additional options.
Tile menu
Select a tile, then click the tile menu icon to access some additional options for managing tiles.
You can Delete a tile from the Dashboard. You can Copy a tile then Paste it next to another. You can Expand a tile to temporarily fill the screen, then Collapse it back into place. And you can Refresh the data in reports and visualizations.
ExpressView visualizations can be saved as new ExpressViews by clicking Save as ExpressView. You will be asked to name the report, and will be taken into the ExpressView Designer.
Tile style
Select a tile, then click the Style tab to access the options for changing its appearance.
Click Tile Fit to choose how the tile scales fit to he screen. This option is not available for filters or ExpressView visualizations.
Click Tile Header to add header text to the tile. Then choose the text font and formatting.
Click Background and Border to change the background color of the tile and tile header, and the border color and style.