DataLayer.Static - Using Studio's DataLayer Wizard
Logi Studio includes a wizard that assists you in configuring DataLayer.Static and creating static data.
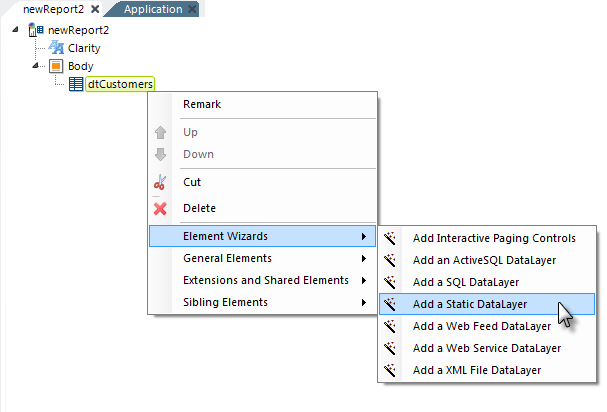
As shown above, the wizard can be started by selecting and then right-clicking the parent element under which you want to add the datalayer, and using the context menus to select "Add a Static DataLayer".
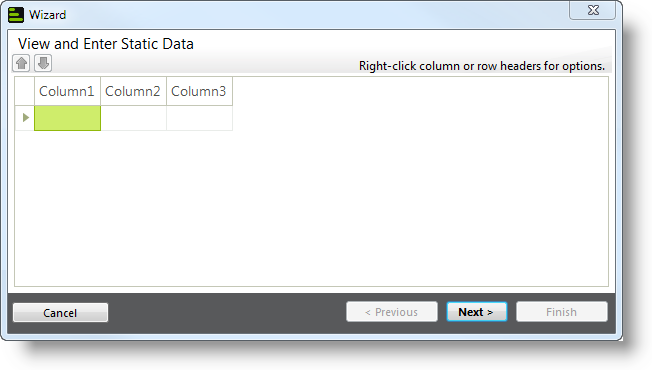
The wizard will open, as shown above. Use the wizard as follows:
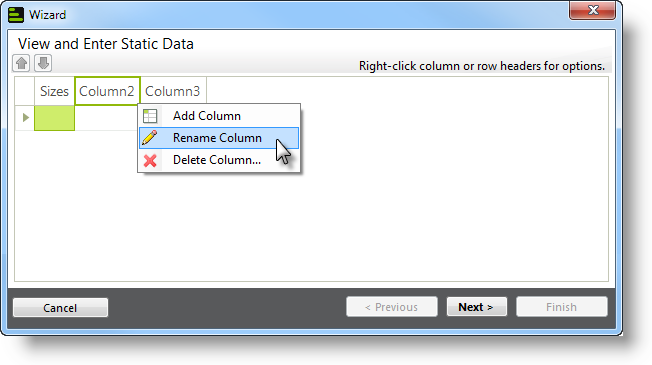
- Right-click the column headers, one-by-one, select Rename Column from the pop-up menu, and change the column names to names appropriate for your purpose. You can drag the column header borders to widen the columns, if desired. Add or delete columns as necessary, until you have just those you need.
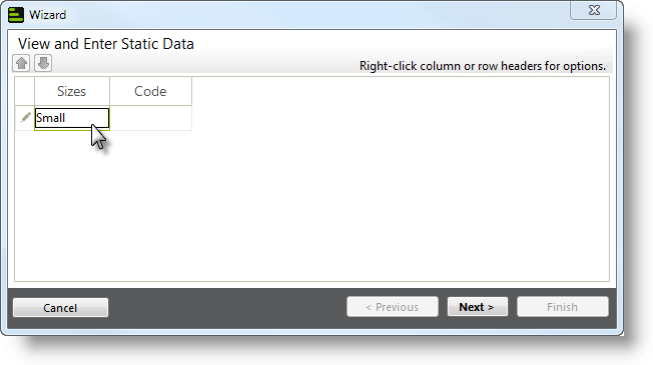
- Click the first column and enter the desired data value. Press Tab to move to the next column and enter its data, then repeat for all columns. Do not press Enter!
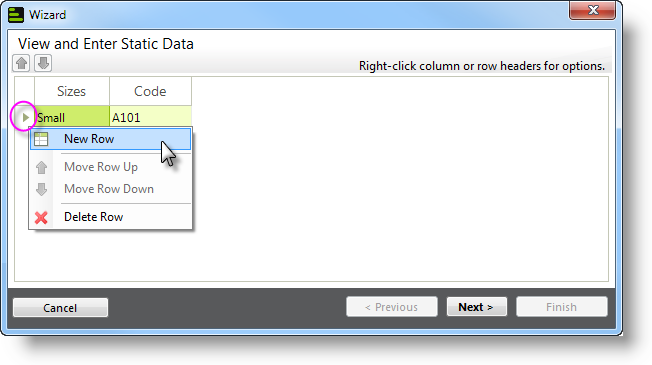
- Right-click the small arrow icon to the left of the first column and select New Row from the pop-up menu that appears. Repeat Steps 2 and 3 as many times as necessary to enter data for all static rows.
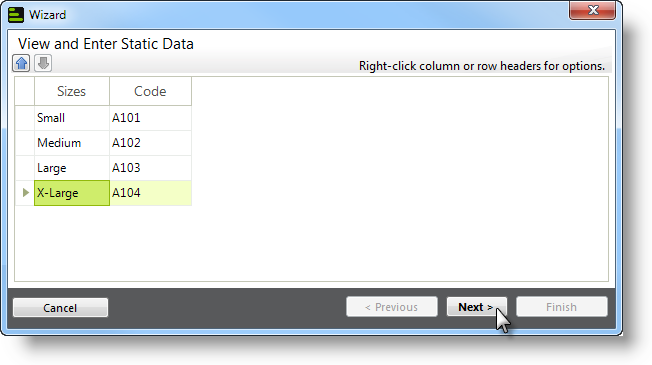
- When the data for all rows and columns has been entered, click Next to insert the elements.
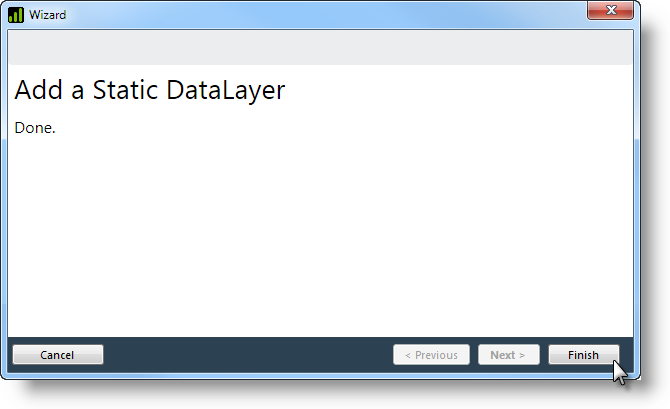
- Click Finish to close the wizard.

The Element Tree will now include your new datalayer and supporting elements, as shown above.