Creating Printable Name Tags
In this tutorial, we will be creating a sheet of printable nametags from a sample database of employees.
Building A Name Tag
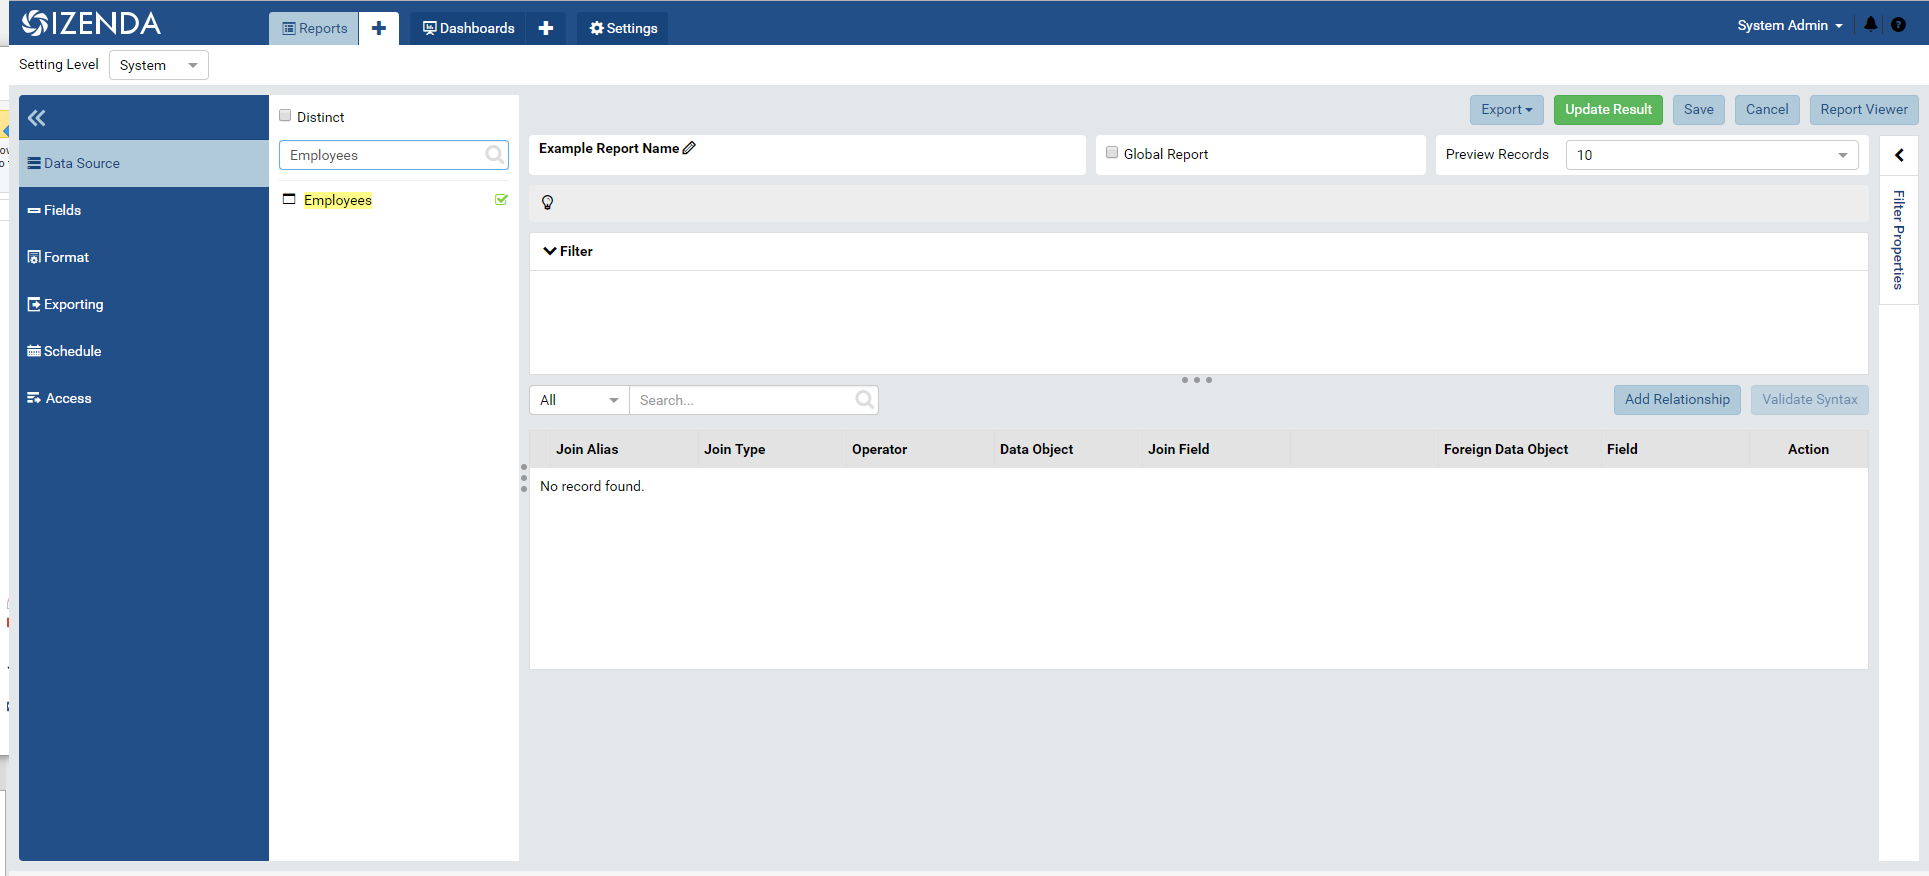
- Navigate to the report designer. In the “Data Sources” tab, select the “Employees” table from NORTHWIND.
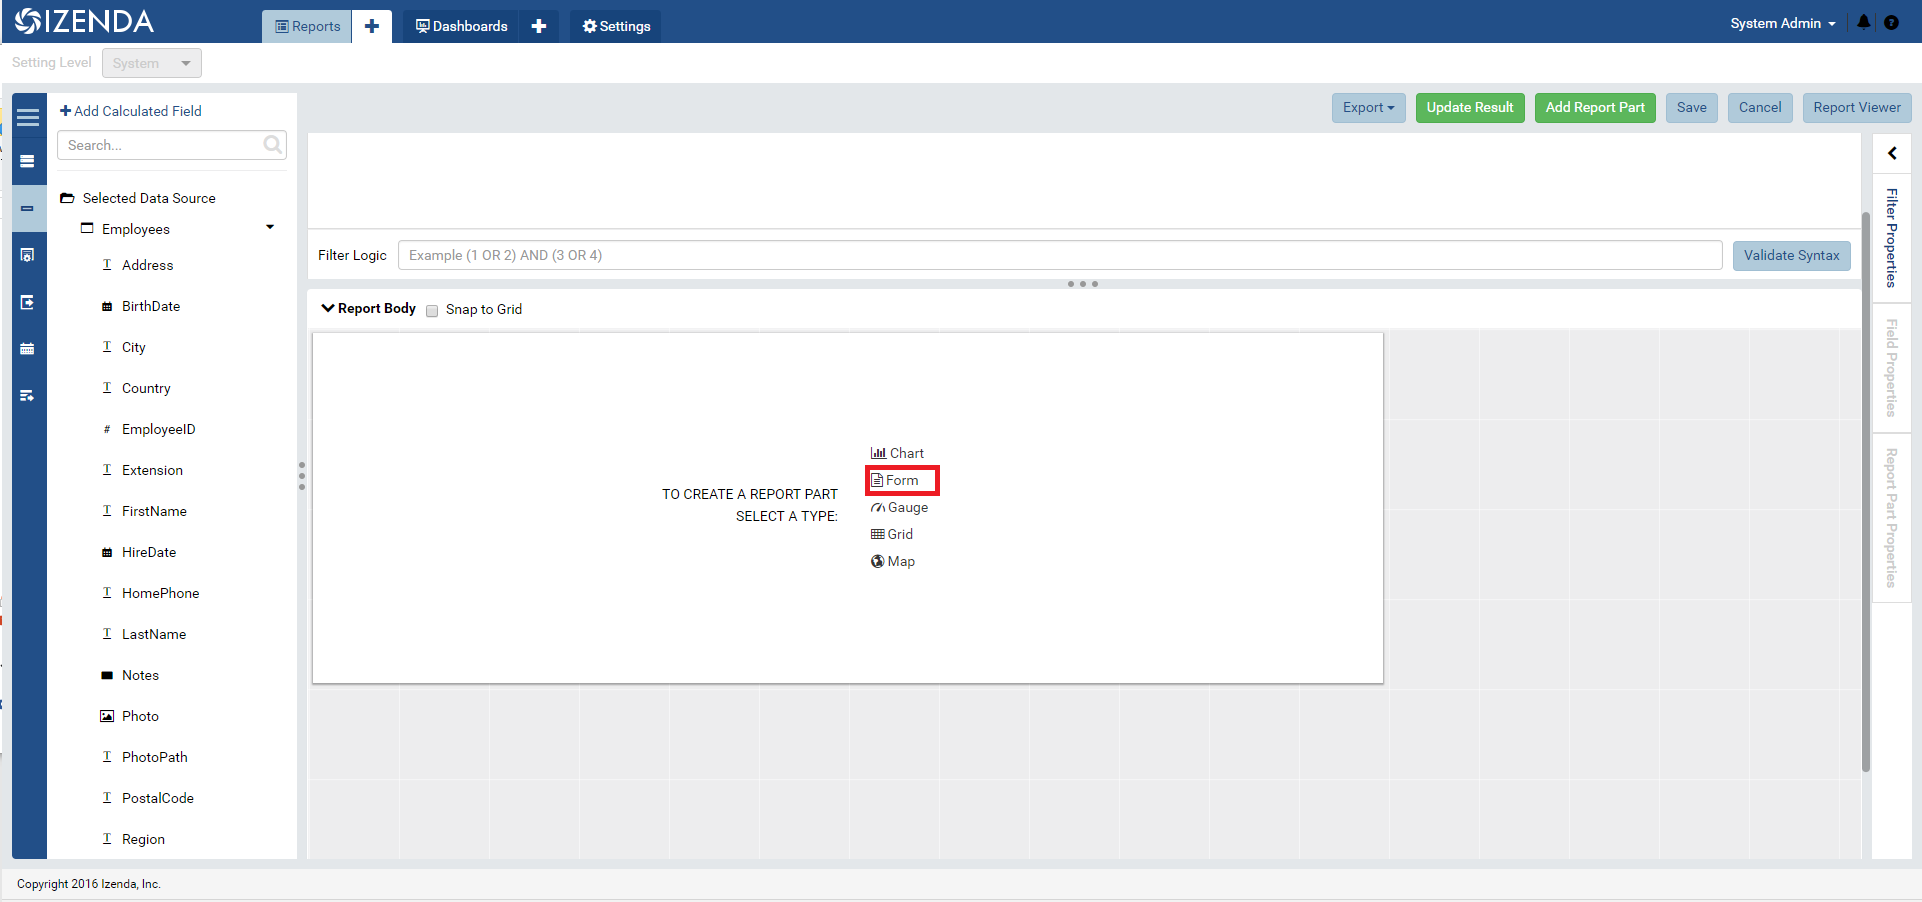
- Navigate to the “Fields” tab and create a new “Form” report part.
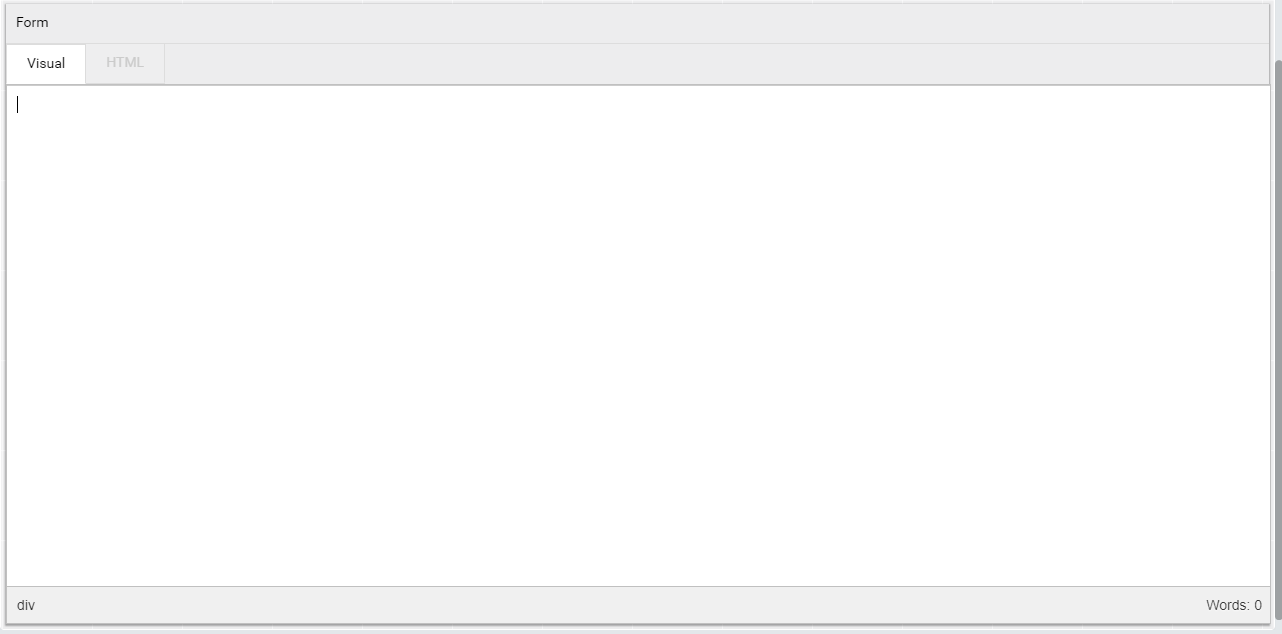
- The Form designer is split in to two modes—Visual and HTML. Whenever a change is made in the Visual tab, corresponding HTML will be created that can be modified directly from the HTML tab. If desired, you can build your form directly in the HTML editor but, for this tutorial, we will design the basic look and feel in the Visual tab and fine tune it in the HTML tab.
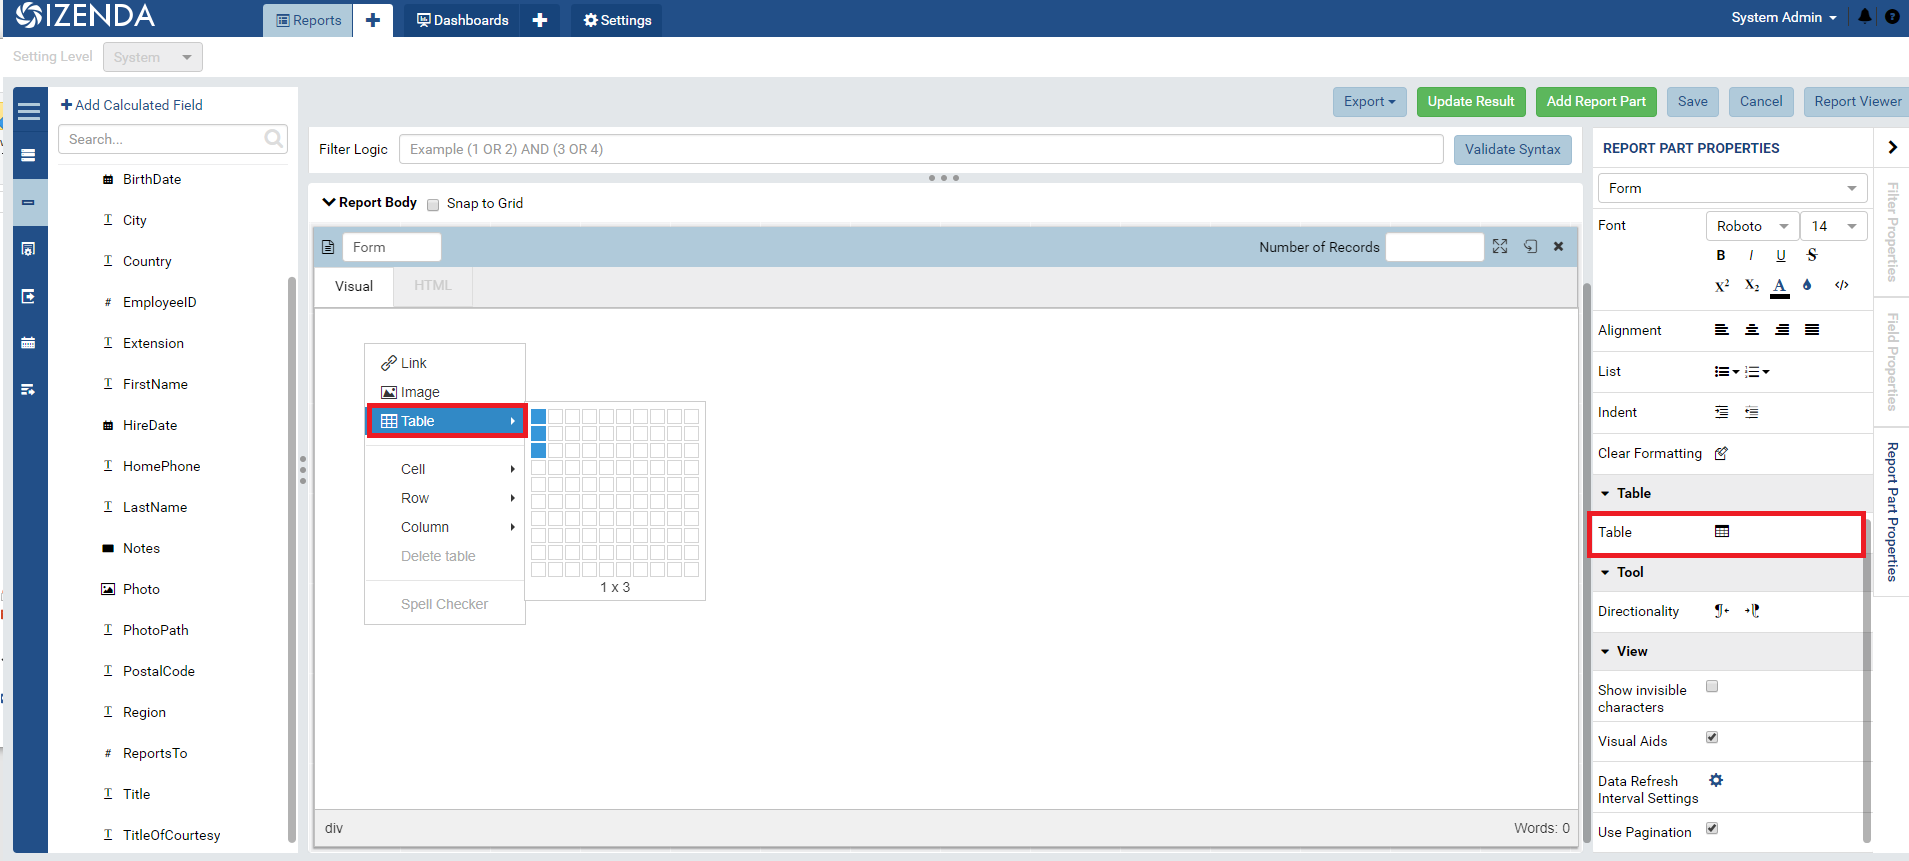
- To add to a form, click in the body of the Visual tab to place your cursor. Right click and add a 1x3 table to the form. Alternatively, you can add a table from the Report Part Properties Panel.
- Click and drag on the square in the bottom right-hand corner to expand the table.
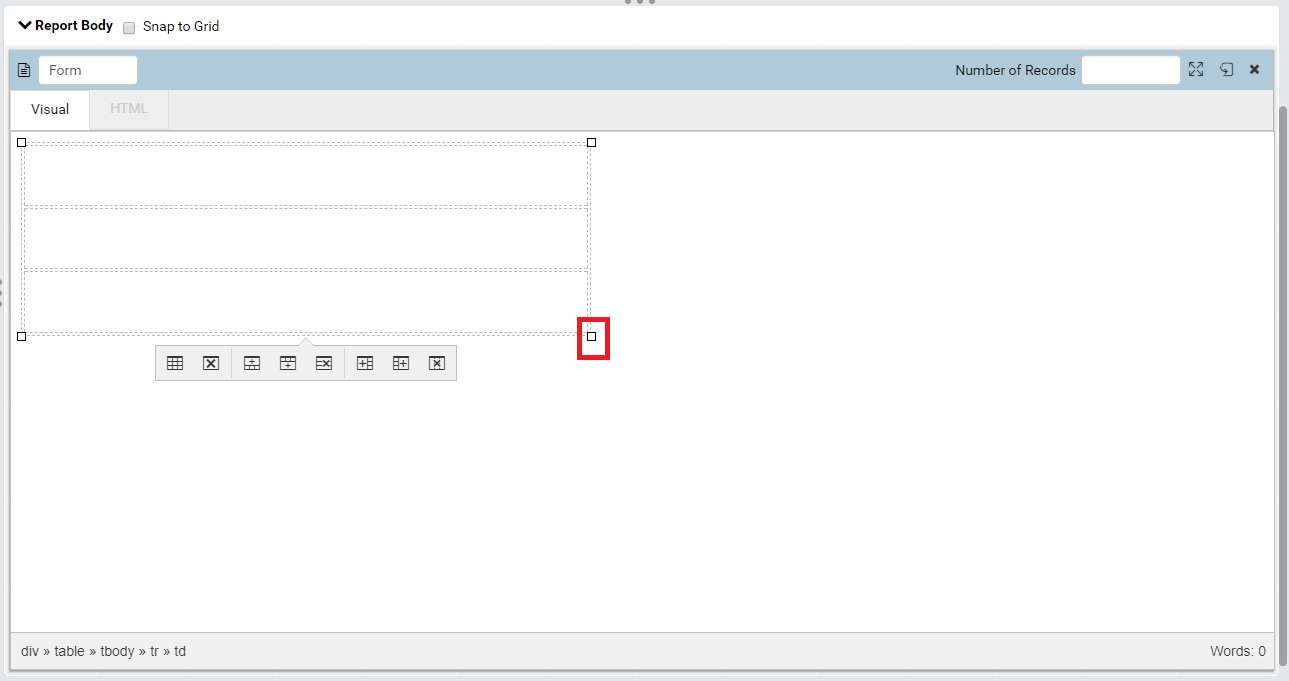
- Click and drag on the horizontal lines of the middle cell to make it larger than the top and bottom cells. To resize a particular cell, click and drag its bottom border.

- Click inside the middle cell to place the cursor inside it. From our Fields panel, click and drag “Title” onto the form. “Title” contains the job title of each employee at the company.

- Our Employees table has a field “FirstName” and a field “LastName.” While these fields can be added to the form separately, let’s create a Calculated Field to append the LastName to the FirstName. At the top of the Fields panel, select “Add Calculated Field” and create the following calculated field: [NORTHWND].[dbo].[Employees].[FirstName] + ‘ ‘ + [NORTHWND].[dbo].[Employees].[LastName]

- Now that our calculated field is created, we can add it to our form. Click in the middle cell to place your cursor behind our “Title” field. You can use the left arrow key to place the cursor in from of our “Title” field. From the fields panel, drag and drop “Full Name” onto our form.

- Place your cursor in the top cell and type to add text (e.g. “Hi, I call Myself:”).

- Place your cursor in the bottom cell. Right click to add an image. Alternatively, you can add an image from the Report Part Properties panel on the right-hand side. Locate an image URL that is available to you and pasted it in the “Source” bar. For this demonstration, we are using Izenda’s website logo.

- Click on the newly added image. On the Report Part Properties panel, navigate to “Format” and align the image to the right.

- Return the report part to “Preview” mode and observe the un-stylized name tags. Notice that each nametag in the form is its own HTML table.

Adding Styles to The Form
Several customizations can be added to a form from the Visual tab and countless more can be added through the HTML tab. The following section will demonstrate how to modify font sizes and weights from the Visual tab and Background Colors/Outlines from the HTML tab.
- Highlight the text found in the top cell. In the Report Part Properties panel, change the font size to 26 and click the “B” to make the font Bold. If desired, change the font color to White.

- Click on the field “Full Name.” In the Field Properties panel, navigate to Data Formatting and modify the Font Size to 20.

- In the report preview in the Report Designer, our form will look like the following:

- Now, we will add styles via CSS. Navigate to the “HTML” tab of our form. At the top of the HTML add: <style></style>

Note: When switching between the Visual tab and the HTML tab, you may notice that the contents of the style element is commented out using the HTML Comment ornaments “<!—“ and “–>” . This is simply a denotation for Izenda’s HTML renderer to ensure that the style is maintained when the report is saved.
- To break up each nametag, we will add a color to the top row of each table. Find the first “tr” element in the form and provide a class “nt-header”. In the style element, add the following:

.nt-header{
						background-color: #1c4e89;
						height: 85px !important;
						}
- Create two additional classes for the name tag footer and the nametag body. Add them accordingly to your table elements. To ensure that this styling is respected, remove any inline styles of the td and tr elements.
.nt-footer{
						height: 70px !important;
						}
						.nt-body{
						height: 70px !important;
						}
- Next, we will further stylize the look of the label. Find the table element and provide a class “label-content.” In the style element, add the following:

.label-Content {
						border-collapse:separate;
						border:solid black 1px;
						border-radius:6px;
						-moz-border-radius:6px;
						width: 300px !important;
						text-align: center;
						overflow: hidden;
						}

Note: If we were to print/export our label sheet now, there would be zero spacing between each nametag and they would be printed in 1 continuous line down the page.
- To add spacing between the nametags, we will create a div around our table. This will have the class “label-spacing”. In the style element add the following:

.label-spacing{
						padding: .125in .3in 0;
						margin-right: .125in;
						/* the gutter */
						float: left;
						text-align: center;
						overflow: hidden;
						}
Note: If we were to print/export our label sheet now, there would be spacing between each nametag but they would be printed in 1 continuous line down the page. We will need to add a bounding box around our labels so that they overflow correctly.

- Add a repeater element around our label-spacing element to ensure that only this content is repeated. Depending on your use case, you may not need this additional step.
- To ensure that the nametags overflow correctly, we will create a div around our repeater element. This will have the class “label-sheet”. In the style element add the following:

.label-sheet {
						width: 8.5in;
						margin: 0in .1875in;
						}
Note: In the report designer, the labels will display correctly. When printed or exported, however, some labels may be cut off and, thus, will be misaligned on a sticker sheet.

- Add the following CSS to the style element. This will ensure that there is a page break after every 10th element on the page. When printed or exported, labels will not be cut off and will be perfectly aligned on a sticker sheet.
.label-spacing:nth-child(10n) {
						page-break-after:always;
						}
- Save your report and test an export.
Resulting Sample HTML
<style>
						<!--
						.nt-header{
						background-color: #1c4e89;
						height: 85px !important;
						}
						.nt-footer{
						height: 70px !important;
						}
						.nt-body{
						height: 70px !important;
						}
						.label-content {
						border-collapse:separate;
						border:solid black 1px;
						border-radius:6px;
						-moz-border-radius:6px;
						width: 300px !important;
						text-align: center;
						overflow: hidden;
						}
						.label-spacing{
						padding: .125in .3in 0;
						margin-right: .125in;
						/* the gutter */
						float: left;
						text-align: center;
						overflow: hidden;
						}
						.label-spacing:nth-child(10n) {
						page-break-after:always;
						}
						.label-sheet {
						width: 8.5in;
						margin: 0in .1875in;
						}
						-->
						</style>
						<div class="label-sheet">
						<repeater>
						<div class="label-spacing">
						<table class="label-content">
						<tbody>
						<tr class="nt-header" style="height: 19px;">
						<td style="width: 560px; height: 19px;"><span style="font-size: 26px; color: #ffffff;"><strong>Hi, I Call Myself:</strong></span></td>
						</tr>
						<tr class="nt-body">
						<td>
						<div>
						<field class="field-wrapper" field-name="[Full Name]">
						<field-prop key="fontSize" value="20"></field-prop>
						<field-prop key="sort" value="Unsorted"></field-prop>
						<field-prop key="subTotalFieldDataType" value="Text"></field-prop>
						<field-prop key="grandTotalFieldDataType" value="Text"></field-prop>
						<field-prop key="subReportMappingFields" value="[]"></field-prop>
						<field-prop key="fieldId" value="27733e64-4d20-44b5-a7b6-912b842760b6"></field-prop>
						<field-prop key="dataFieldType" value="Text"></field-prop>
						<field-prop key="querySourceId" value="00000000-0000-0000-0000-000000000000"></field-prop>
						<field-prop key="isCalculated" value="true"></field-prop>
						Full Name<span class="icon-cancel"></span>
						</field>
						</div>
						<div>
						<field class="field-wrapper" field-name="[NORTHWND].[dbo].[Employees].[Title]">
						<field-prop key="fieldId" value="aaed4b52-a9ec-4e78-af5a-39862f311a28"></field-prop>
						<field-prop key="querySourceId" value="637f2880-1630-4cd9-b194-217fa6ec674d"></field-prop>
						<field-prop key="dataFieldType" value="Text"></field-prop>
						Title<span class="icon-cancel"></span>
						</field>
						</div>
						</td>
						</tr>
						<tr class="nt-footer">
						<td><img src="https://www.izenda.com/wp-content/uploads/2014/12/IzendaNewLogoBlueTR.png" alt="" width="183" height="50" style="float: right;" /></td>
						</tr>
						</tbody>
						</table>
						</div>
						</repeater>
						</div>