InfoGo - Panel Settings Placement
Each dashboard panel has its own settings icon:

The available options, shown above, allow you to change the panel title, or remove the panel from the dashboard.
![]() The setting menu now includes an option to edit the panel contents.
The setting menu now includes an option to edit the panel contents.

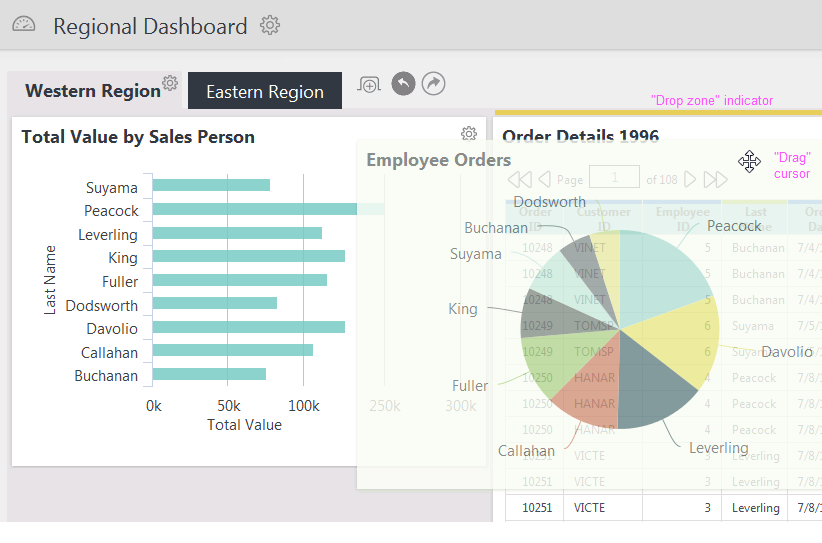
As shown above, panels can be re-arranged by dragging their title bar areas. When you do, the cursor changes to a drag cursor and a "drop zone" indicator (a yellow bar) will appear as you drag the panel toward a new location. If the drop zone is above or between other panels, they'll move when the panel is dropped. The tab's layout setting controls where panels can be dropped, in columns or free-form.

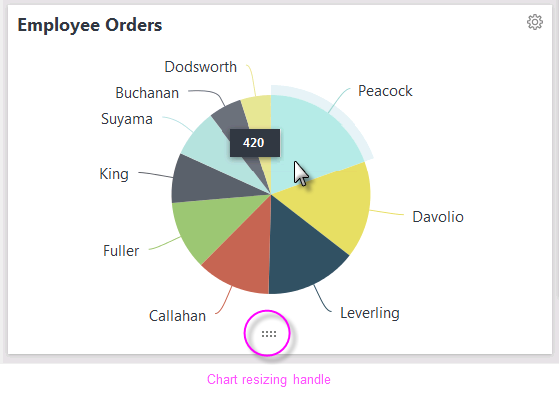
When the mouse cursor is hovered over a chart in a panel, a vertical resizing handle will appear. This can be used change the chart height and, if the chart is made tall enough, the panel itself will expand vertically, too.
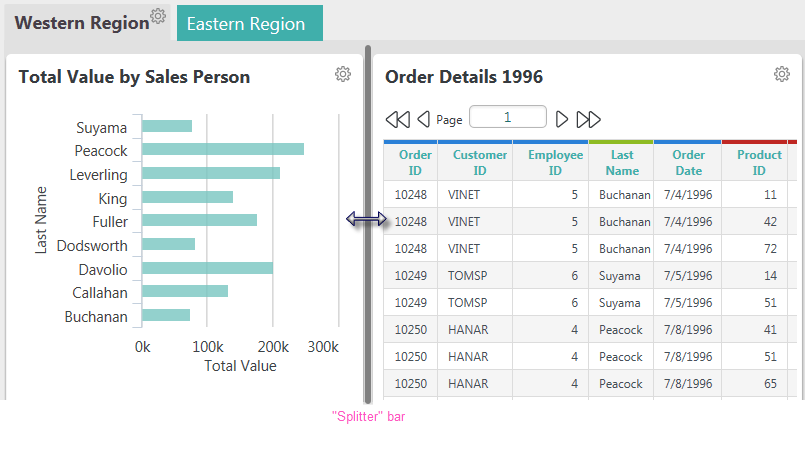
The widths of layout columns (and therefore panels) in dashboards that are configured to be adjustable can be changed using the "splitter" bar:

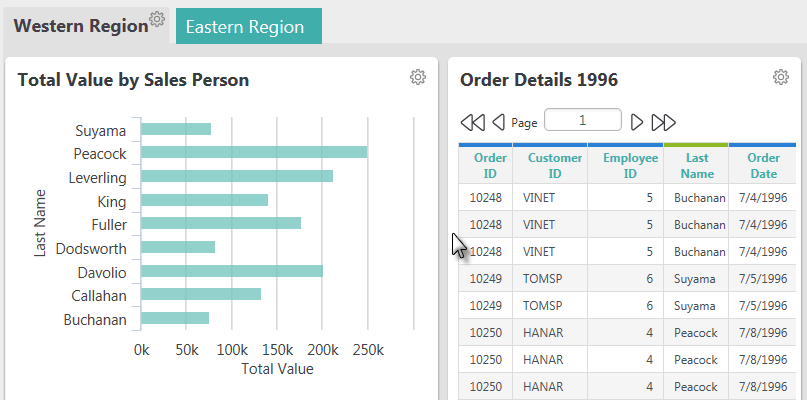
Hover your mouse cursor over the vertical space between two dashboard panels, as shown above, and a gray splitter bar will appear, as shown above.

Drag the bar right or left to the adjust panel widths, then drop the bar at the desired location. Visualizations that don't have their Width attributes set will automatically adjust to match the change in panel widths.