Install Logi DataHub v3
This topic guides you through the Logi DataHub v3 installation process, for both testing and production environments.
- Installation Overview
- Installing the Software
- Configuring the Logi Service Settings
- Using the Correct Product License
- Testing and Troubleshooting
- Uninstalling Logi DataHub v3
Be sure to review the System Requirements before continuing with the installation.
Installation Overview
Logi DataHub v3 3.0 can be installed on the same machine where Logi Info v12.5 SP1+ and Discovery v3.0+ or its successor, Logi Platform Services, are installed, or on a separate database server machine.
What Gets Installed
If the following components don't exist in the target environment, the installation application will install them for you:
- The Infobright - Postgres database server
Upgrading
The process of upgrading to another version of Logi DataHub v3 is simple. Run the installation program just as you did for your original installation and it will detect the existing installation and proceed accordingly. During the process, you'll only see a subset of the dialog boxes shown in the section below for a first-time installation.
If you want to relocate the installation to another folder, or change the installation scenario, then follow the instructions in the final section of this topic to completely remove the previous Logi DataHub v3 installation first, then run the installer for the new version.
Installation Steps
The installation includes these steps:
- Install the Logi DataHub v3 software
- Configure one of the Logi Services settings files
- Possibly replace your product license file with one that includes Logi DataHub v3
Separate sections are provided below for each step.
Installing the Software
Windows includes a number of security enhancements that impact software installation and it is critical that installation and configuration occur while using the software with the built-in "Administrator" account.
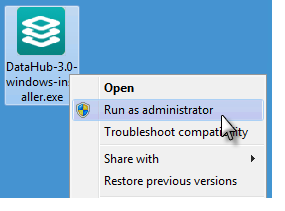
Even if your personal account has been added to the local Administrators Group, it may not have sufficient privileges, so don't rely on it.
As shown above, the correct practice when running the Logi installation program or using the Command Line to make configuration adjustments is to start the tool by right-clicking its icon and selecting Run as administrator from the menu to start the program. This ensures that appropriate permissions are provided for the installed components.
Don't see a "Run as administrator" option? If the system is in a network domain, your network admin may have created security policies that don't allow you to see this option, in which case you need to consult your IT staff for assistance.
As usual, you can click Back at any time before the physical installation begins to go back to the previous screen.
- To start the installation, as described above, right-click the installation program icon and select "Run as administrator" to launch
the installer. Allow it to complete the installation preparation.
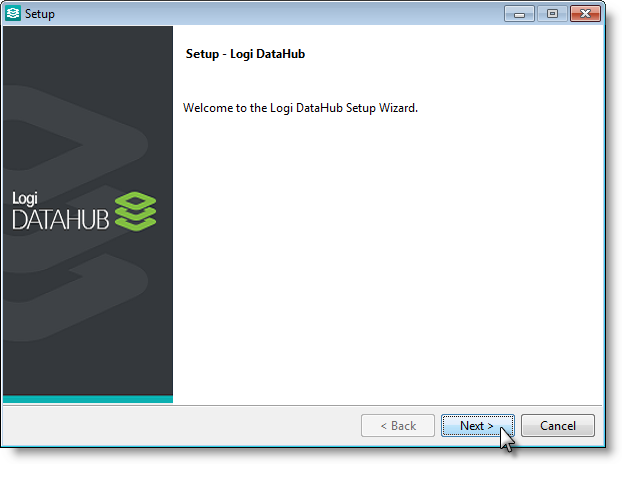
- When the Welcome Screen appears, click Next.
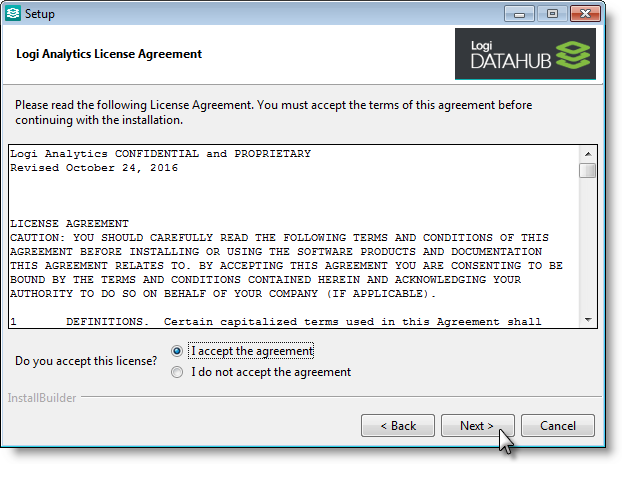
- License Agreement: Select the "I accept the agreement..." radio button after reading the license agreement and click Next to continue.
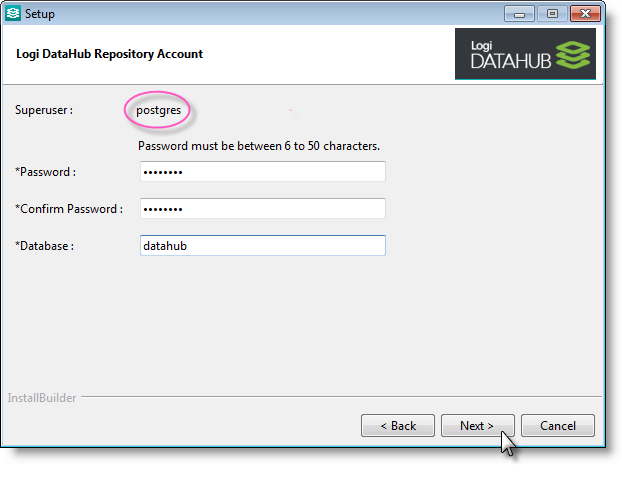
- Repository Account - Provide and confirm a Superuser password (minimum of 6-characters) to be used to administer the Logi DataHub v3 Repository. Also provide an arbitrary name for the database; in the example above "Logi DataHub v3" was entered. The default Superuser name is "postgres". Click Next to continue.
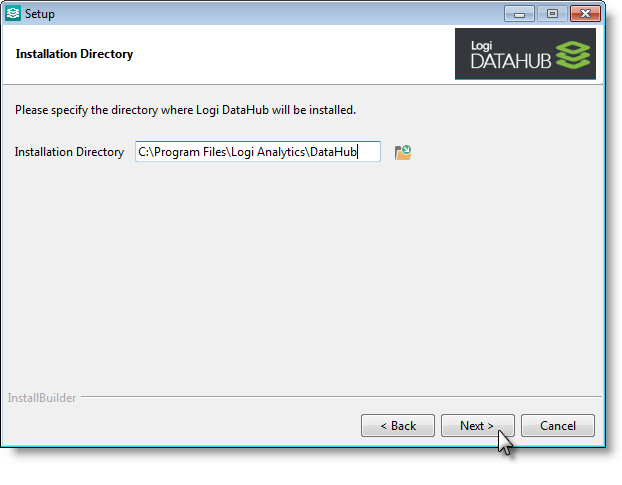
- Destination Folder: Click Next to accept the default installation location and continue. Optional - click the folder icon to
specify an alternative installation location if you don't like the
default location.
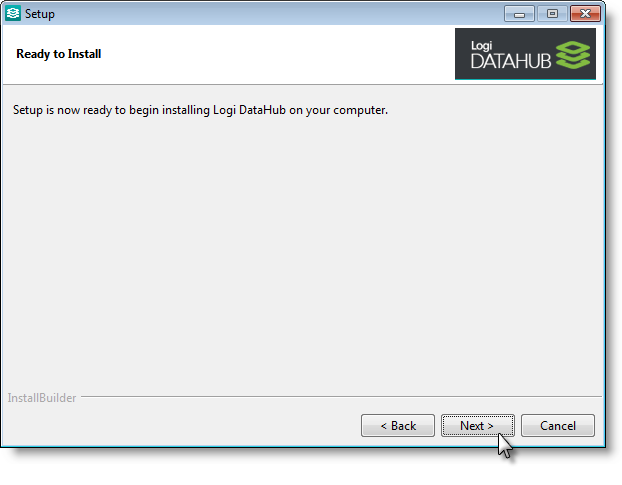
- Ready to Install: The installer has all the necessary information. Click Install to begin the physical installation.
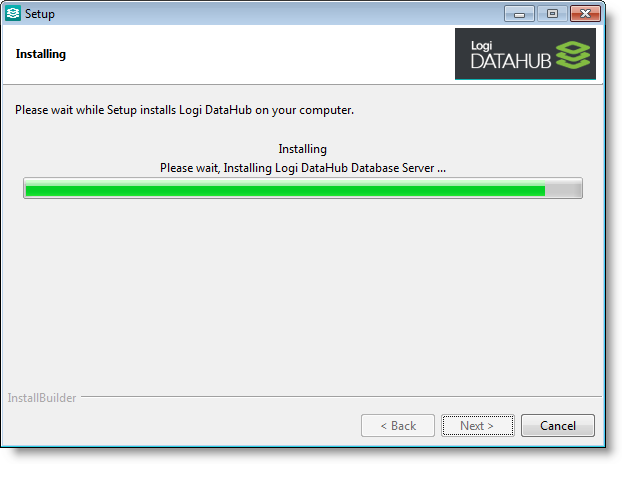
A status dialog box, like the one shown above, will be displayed to keep you informed of progress.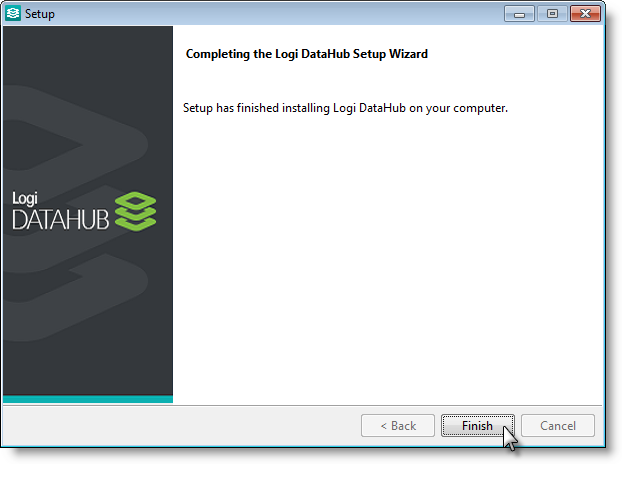
- Once the installation is complete, the final dialog box, shown above, is displayed. Click Finish to close the installer.
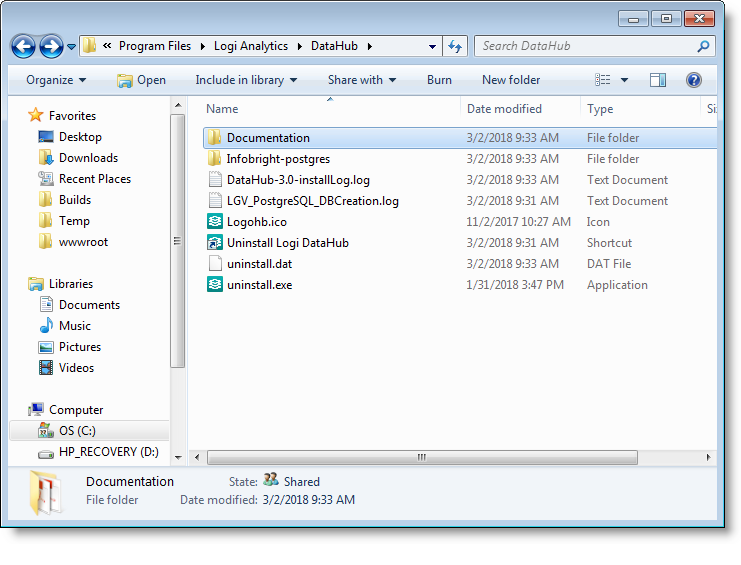
The installer will have created folders and files in the installation location, as shown above.
Configuring the Logi Service Settings
Next, you need to configure Logi Services to integrate Logi DataHub v3. To do this, you'll need a text editor capable of displaying formatted JSON data - the standard Windows Notepad utility app will not work, but many third-party editors, such as Notepad++ or Visual Studio, will.
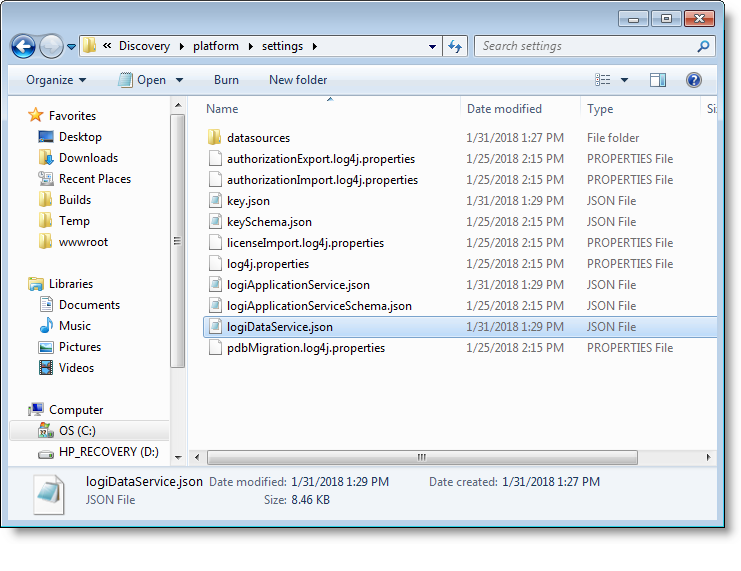
Use your editor to browse to and open this settings file (assuming a default Discovery v3.0 installation):
C:\LogiAnalytics\Discovery\platform\settings\logiDataService.json
The following examples assume that the default Infobright repository database is being used. If using a Vertica repository, find and adjust the similar Vertica-related settings.
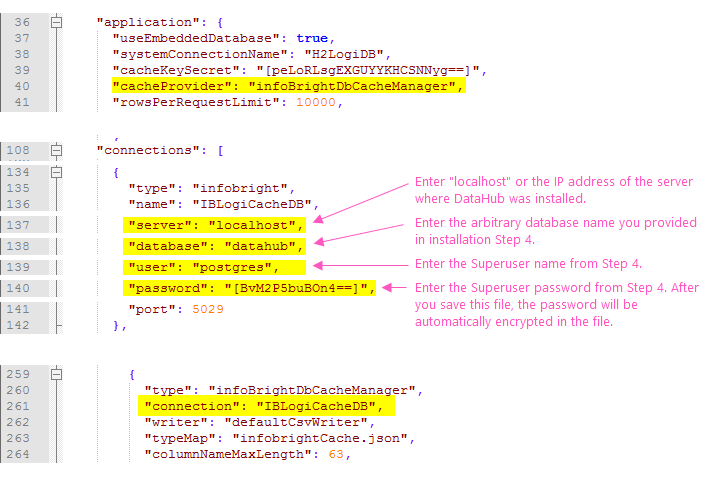
Using your editor and referring to the line numbers shown above, ensure that the highlighted values are supplied. Save the file.

Stop and restart the two Logi services, shown above.
Using the Correct Product License
If you're using a trial license to evaluate Logi products, Logi DataHub v3 will work with it and you can skip this section.
If you have a regular (non-trial) Discovery or SSM license, you will need to replace it with a regular license that includes Logi DataHub v3.
Here's a table that identifies licenses and capabilities:
| License Type | License File | Product Enabled | Create Visualization | Create Dashboard | Create/Save Thinkspace | Dataview Authoring | Logi DataHub v3 Caching |
|---|---|---|---|---|---|---|---|
| Discovery v3.0 | lgx030501.lic | Discovery/LPS |
|
|
|
|
|
| SSM v12.5 | lgx030502.lic | Discovery/LPS & Thinkspace |
|
|
|
|
|
| Logi DataHub v3 | lgx030503.lic | Logi DataHub v3 |
|
|
|
|
|
| SSM v12.5 & Logi DataHub v3 | lgx030504.lic | Discovery/LPS, Thinkspace, & Logi DataHub v3 |
|
|
|
|
|
For illustration purposes here, let's say you already have the SSM v12.5 license in place and need to replace it with the last license shown above, the one that enables three products.
Windows
The existing SSM license can be deleted from the Platform Database (PDB), and another one inserted to replace it, using DeleteLicenseDB.txt and InsertLicenseDB.txt, as follows:
- Place the new license file in the same folder as the old license file, typically C:\LogiAnalytics\Discovery.
- Download and save the two .txt files mentioned above to your desktop.
- Edit each file to include the correct Discovery Admin password and other parameters.

When editing DeleteLicenseDB.txt, you specify only the license file name, without its extension. For example, to delete the SSM v12.5 license, you specify license-id=lgx030502.
When editing InsertLicenseDB.txt, the path to the license file cannot include any spaces. Relocate the license file, if necessary, to avoid this.
- Rename the downloaded files' extensions to ".bat".
- Using Run As Administrator, execute the DeleteLicenseDB.bat file and allow it to fully complete.
- Using Run As Administrator, execute the InsertLicenseDB.bat file and allow it to fully complete.
Linux/UNIX
- Place the new license file in the same folder as the old license file, typically opt/Discovery.
- Download and save the two .txt files above to your desktop.
- Manually stop the Logi Application Server and Logi Data Service daemons.
- Edit and run opt/Discovery/platform/bin/licenseTool.sh, using the arguments found in the DeleteLicenseDB file.
 You specify only the license file name, without its extension. For example, to delete the SSM v12.5 license, you specify license-id=lgx030502.
 - Edit and run licenseTool.sh again, using the arguments found in the InsertLicenseDB file.
 The path to the license file cannot include any spaces. Relocate the license file, if necessary, to avoid this.
 - Manually start the Logi Data Service daemon.
- Wait 10 seconds, manually start the Logi Application Server daemon
For either OS, information about this process is logged to:
opt/Discovery/platform/logs/licenseImport.log
What License is Currently Installed?
Use these steps to see what licenses are in the PDB (this doesn't include Logi Info licenses):
- Launch Logi Studio and, in its Tools menu, run the Dataview Authoring tool.
- Login to the tool, using the Admin account.
- Open a new tab in your browser.
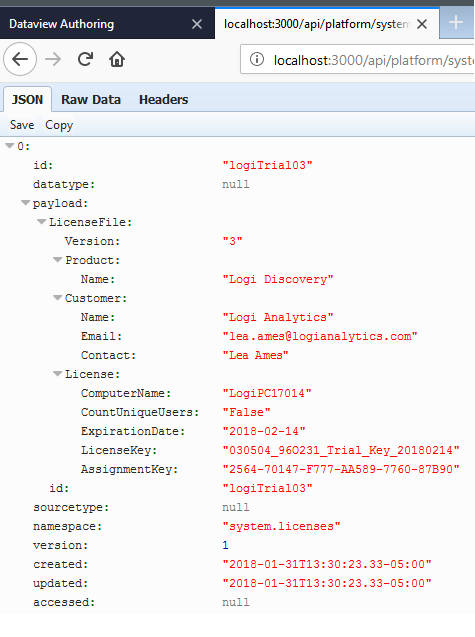
- Browse this URL (assumes a standard installation of Discovery, using default port 3000):
http://localhost:3000/api/platform/system.licenses - A list of licenses and their details should be displayed in your browser:
Testing and Troubleshooting
Your installation is complete, so here's a quick way to test Logi DataHub v3:
- Launch Logi Studio and, in its Tools menu, run the Dataview Authoring tool.
- Login to the tool, using the Admin account.
- Click the Sources item in the menu bar, and then the Create New Source button.
- The Add Source panel will be displayed; click the Application radio button.
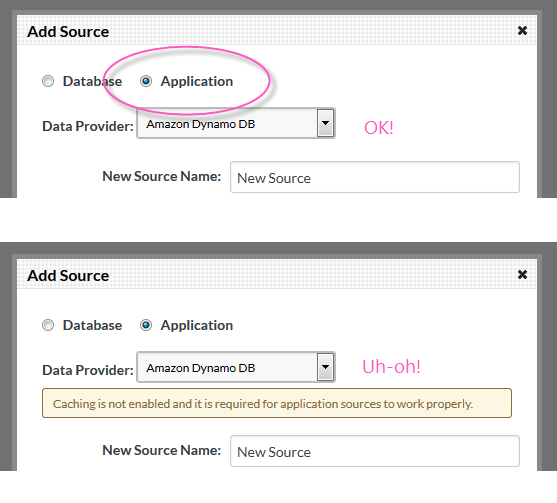
If you see a "Caching is not enabled..." message, like the one shown above, then Logi DataHub v3 is not working correctly. Otherwise, you're good to go.
Troubleshooting
In addition to reviewing all the installation and configuration details provided earlier in this topic, here are a few other things you can check:
Infobright uses Port 5029 by default; if you're using a firewall and have difficulties connecting to the repository, check that Inbound TCP communications on Port 5029 are allowed.

Logi DataHub v3 installs a service named "infobright-iee-postgres"; ensure that it started and that it's configured to start automatically, as shown above.
Uninstalling Logi DataHub v3
To uninstall Logi DataHub v3 and all of its components, do the following:
- Stop the two Logi services:

- Use Control Panel
 Programs and Features to uninstall Logi DataHub v3.
- When Logi DataHub v3 has been removed, restart the two Logi services.