Submitting a Debug Package
If the Admin Console > General > Other Settings > Debug Password is set, a client will have the ability to submit Debug Packages automatically to Exago, Inc. via the internet.
A copy of the report definition, the Exago configuration file, and the data set used to generate the report will be transmitted to Exago’s Support Team.
Automatically Creating a Debug Package
To send a Debug Package to Exago Support automatically through the Web Application user interface:
The automatic debug packager only works with single Advanced Reports,
CrossTab Reports,
Express Reportsand
ExpressViews. Contact Exago’s Support Team directly when troubleshooting Advanced Reports with linked reports (a.k.a. drilldowns),
Chained Reports or
Dashboards.
- From the Report Tree, select the report under test.
- Press Ctrl + Shift + X.
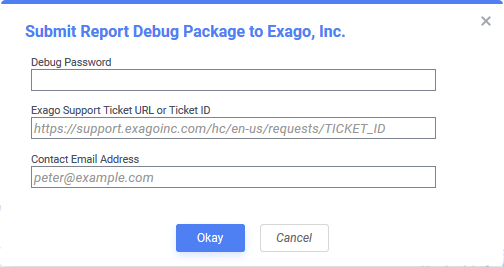
- In the Debug Package dialog:

Debug Package dialog - Click Okay to begin the report execution process. If the report has any prompting filters or parameters, enter values for them when prompted.
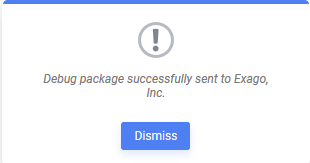
A success/failure message will display when the process finishes. Click Dismiss. A confirmation email will be sent to the email in the Contact Email Address field.

Manually Creating a Debug Package
If a debug package cannot be sent automatically, a package may be created manually instead. The files can be zipped and directly attached to a ticket request.
Before manually creating a debug Package verify that Admin Console > General > Scheduler Settings > Enable Remote Report Execution is set to False
To manually create a Debug Package:
This topic references
<WebApp>/,<WebSvc>/and<Sched>/as a placeholder for the Web Application, Web Service API and Scheduler Service's install location respectively. The default install location isC:\Program Files\Exago\ExagoWeb\(/opt/Exago/on Linux),C:\Program Files\Exago\ExagoWebApi\(/opt/Exago/WebServiceApi/on Linux) orC:\Program Files\Exago\ExagoScheduler\(/opt/Exago/Scheduler/on Linux); however, these directories can be changed during installation.
- Create the
<WebApp>/Debugfolder if it doesn’t already exist in the file system. - Make sure
<WebApp>/Debughas the same read/write permissions as the Report and Temp Folders. - Set Admin Console > General > Other Settings > Enable Debugging to True.
- Execute the report under test.
- Zip the contents of the
<WebApp>/Debugtogether and attach them to the next response to your request.
Each time a report is executed, the
Debugdirectory will be cleared. Be sure to save any needed files before creating a new package.