Install Logi Info on Windows Server 2019 - Installing the Software
This topic describes the installation steps and the dialog boxes you'll see when using the interactive tool built into your Logi product installation file. If you need a "silent" (non-interactive) installation, see Command Line Install.
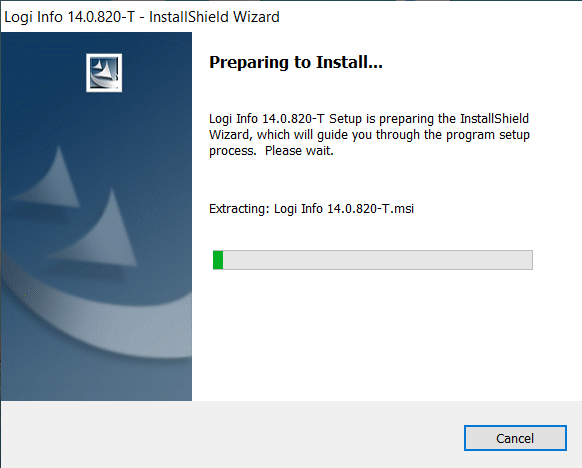
- Double-click the Logi product installation file to launch InstallShield. Allow it to complete the installation preparation.
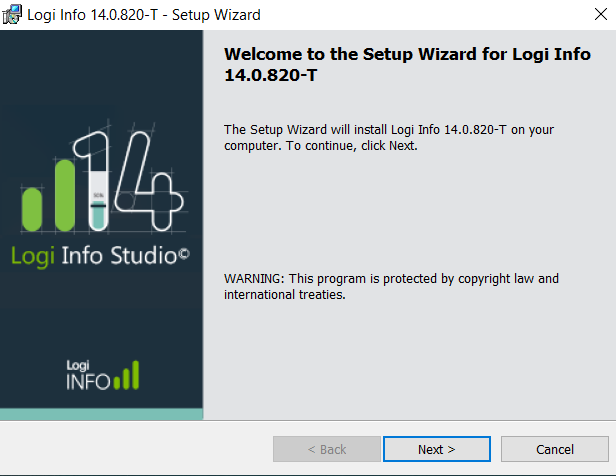
- When the Welcome Screen appears, select Next:
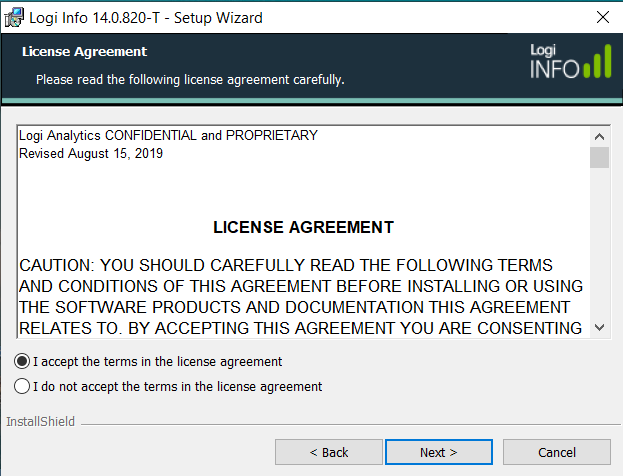
- License Agreement: Select the "I accept the terms..." radio button after reading the license agreement and select Next to continue:
![]() As usual, you can select Back at any time before the physical installation begins to go back to the previous screen.
As usual, you can select Back at any time before the physical installation begins to go back to the previous screen.
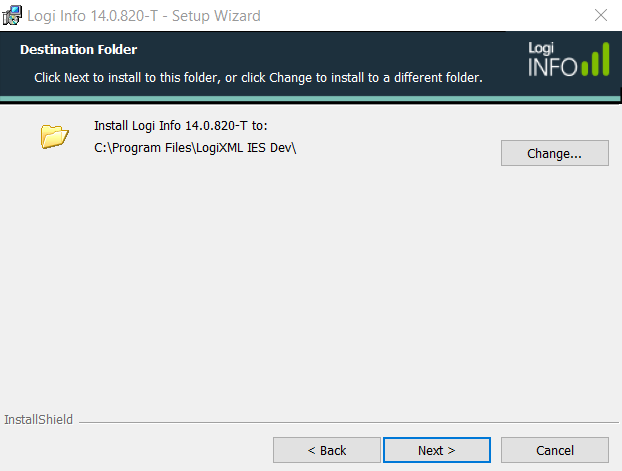
- Destination Folder: Optional - select Change to specify an alternative installation location if you don't like the default location. Select Next to accept the installation location and continue:
- Setup Type: Select the Typical or Custom radio button (see Custom information below) and click Next to continue:
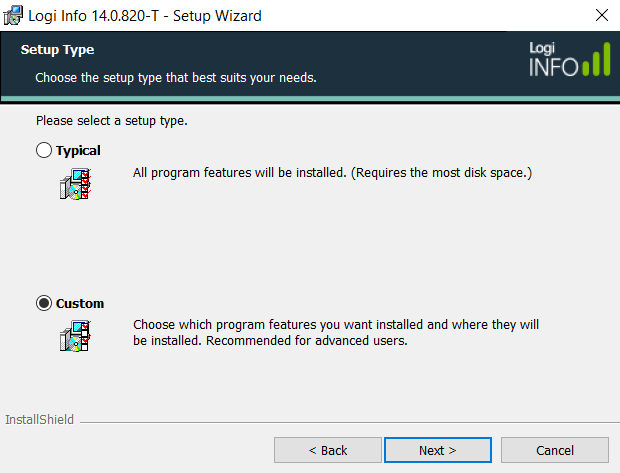
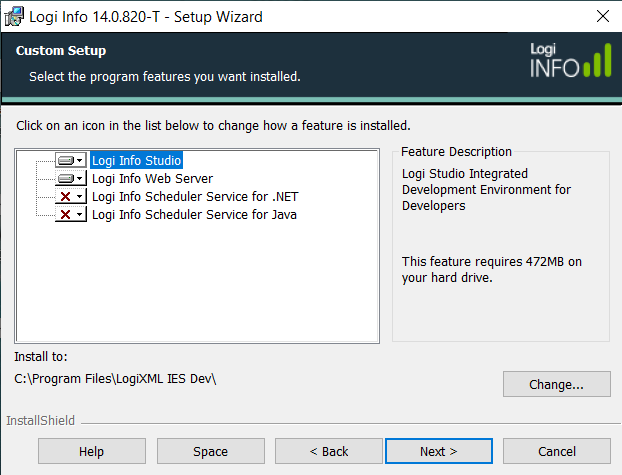
If you selected a "Typical" setup, skip ahead to Step 6. If you selected a "Custom" setup, the dialog box (shown below) appears. The following components are available during a Custom setup:
Studio - The integrated development environment used by developers to create applications and report definitions. Select to remove Studio from the installation if you're only installing the Logi Server Engine.
Server - The Logi Server Engine that processes XML data in report definitions and outputs HTML (includes Server Manager).
LogiXML Scheduler Service for .NET - The Logi Windows Service that manages scheduled events; not required if you want to test scheduled report generation and distribution using Java facilities.
LogiXML Scheduler Service for Java - The Logi Java daemon that manages scheduled events; required if you want scheduled report generation and distribution on Linux/UNIX-like systems.
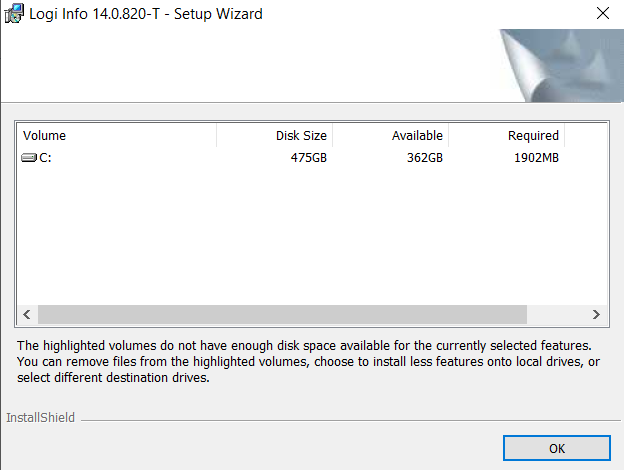
Click any of the components shown above and make a selection from the pop-up menu to include them in the installation. If desired, select Space to review the disk space requirements for the Custom setup you've selected. Select Next to proceed without the review:
The Disk Space Requirements display will give you information about the available storage space and warn you if there is not enough space to complete the installation. You can repeatedly adjust the components in the Custom setup and see the effect on storage here, if necessary. Select OK to return to the previous dialog box.
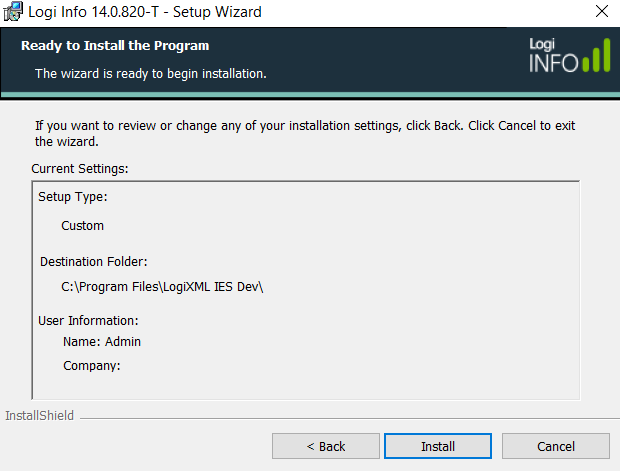
- Installation Summary: Review the installation summary and select Install:
The physical installation will begin and you'll see several progress indicators for different tasks:
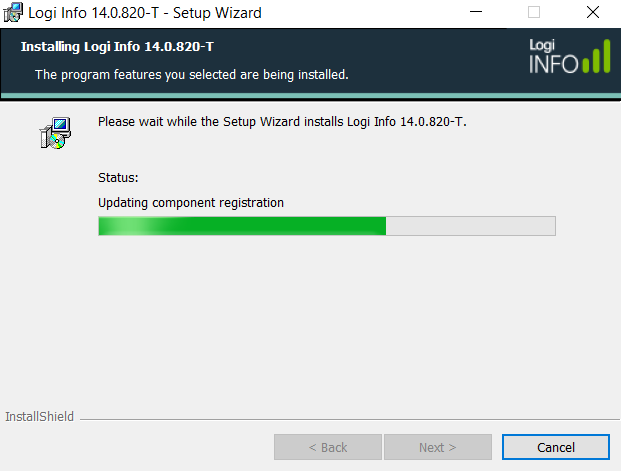
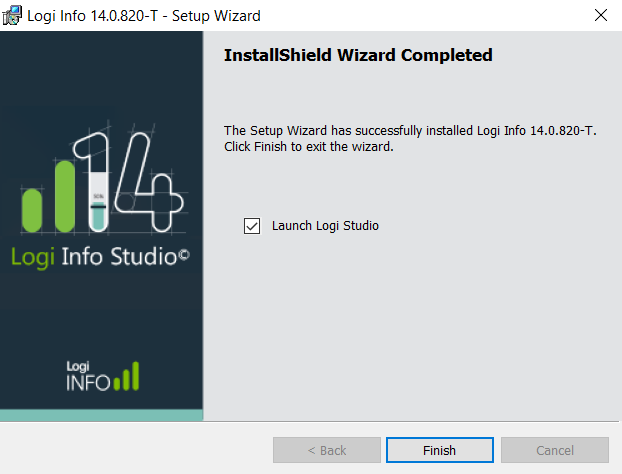
- Installation Complete: Select Finish to exit the installer (if you have only installed the Logi Server Engine, there will be no "Launch Logi Studio" check box visible).
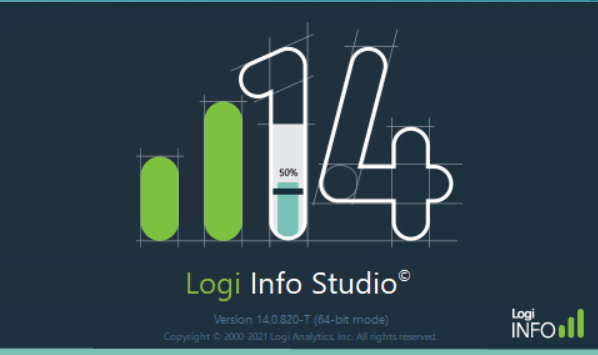
- If you left the "Launch Logi Studio" check box checked, Studio will now launch and you should see a splash screen, like below:
You can also launch Studio by using Start Menu![]() All Programs
All Programs![]() Logi Info or Report
Logi Info or Report![]() Studio.
Studio.
Should you need to, you can launch Server Manager using Start Menu![]() All Programs
All Programs![]() Logi Info or Report
Logi Info or Report![]() Server
Manager or from Studio's Tools menu. More information about using Server Manager is available in Using Logi Studio.
Server
Manager or from Studio's Tools menu. More information about using Server Manager is available in Using Logi Studio.
Installation is complete and you may begin to use Studio and/or the Server Engine immediately.