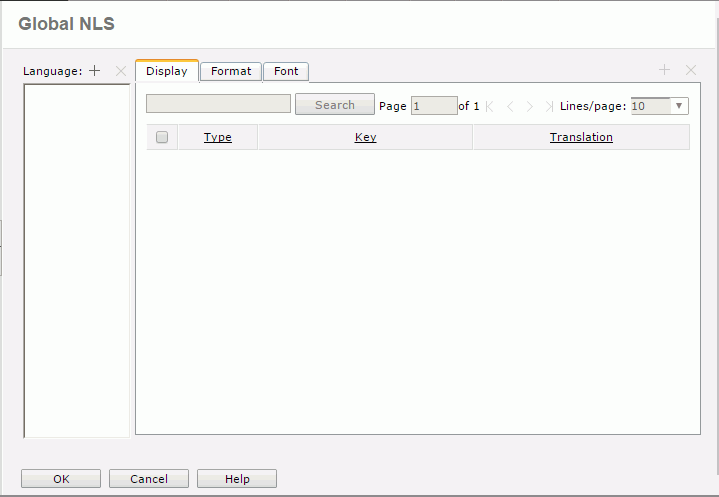
Creating Global NLS
The global NLS is similar to the local NLS feature. Local NLS is the NLS resource used for a particular report or library component, while global NLS is the NLS resource that can be used for all reports and library components in any catalog in both Logi JReport Server and Logi JReport Designer. With global NLS, you can share the NLS information between all reports and library components and reduce your translation cost. This feature is provided to administrators only.
To create global NLS on Logi JReport Server:
- Start Logi JReport Server and log onto the Logi JReport Administration page.
- Select Resources on the system toolbar and select Global NLS from the drop-down menu.

- Select the Add button
 above the Language box. The Select Language Source dialog is then displayed.
 - Specify where to add the required languages.
- Languages Supported by Logi JReport
Adds languages from the languages that Logi JReport supports. - NLS Resource File
Adds languages from an external NLS resource file which has been defined with some language information.NLS resource files should follow the naming rule: NLS_[language]_[region A2]_[User-Defined].properties. The language argument is a valid ISO Language Code as defined by ISO-639. You can find a full list of these codes at a number of sites, for example: http://www.loc.gov/standards/iso639-2/php/code_list.php. The region argument is a valid ISO Country Code as defined by ISO-3166. You can find a full list of these codes at a number of sites, for example: http://www.chemie.fu-berlin.de/diverse/doc/ISO_3166.html.
- Languages Supported by Logi JReport
- Select OK in the Select Language Source dialog. Then,
- If Languages Supported by Logi JReport is checked in the dialog, the Add Language dialog will be displayed. Select the required languages and select OK to add them.
- If NLS Resource File is checked in the dialog, the File Upload dialog will be displayed. Browse to the local folder where the NLS resource file is located, select the file and then select Open.
The specified languages are now displayed in the Language box in the Global NLS dialog.
- Select a language from the Language box to edit global NLS for it.
- In the Display tab, select the Add button
 to add a new row of display.
Select the type of the display from the Type drop-down list, specify the key in the Key column, then give the corresponding target language text in the Translation column. Select
  to add more rows and specify the key and translation according to your requirements.
 - In the Format tab, select the Add button
 to add a new row of format. In the Key column, specify the format of the key in the original language, then in the Format column, specify the format of the key in the target language. Select
  to add more rows and specify the format information according to your requirements.
 - In the Font tab, select the Add button
 to add a new row of font. In the Key column, choose from the drop-down lists the font face and font size of the key, in the Font Face column, choose from the drop-down list the font face for the target language, then in the Font Size column, choose from the drop-down list the font size for the target language or check to use relative font size. Select
  to add more rows and specify the font information according to your requirements.
 - Repeat the above steps to define global NLS for the other languages as required.
- When done, select OK to accept the settings.
See also the Global NLS dialog for detailed explanation about options in the dialog.
 Previous Topic
 Back to top